Import from Spreadsheet
The Import from Spreadsheet feature in Pitch N Hire allows recruiters to upload multiple candidates at once into the Talent Pool. Instead of adding candidates manually one by one, this feature helps save time and ensures data is properly structured.
It is especially useful when you already have candidate data collected in bulk (from job fairs, external sources, or legacy systems) and want to upload them directly into your ATS.
Step 1: Download the Sample File
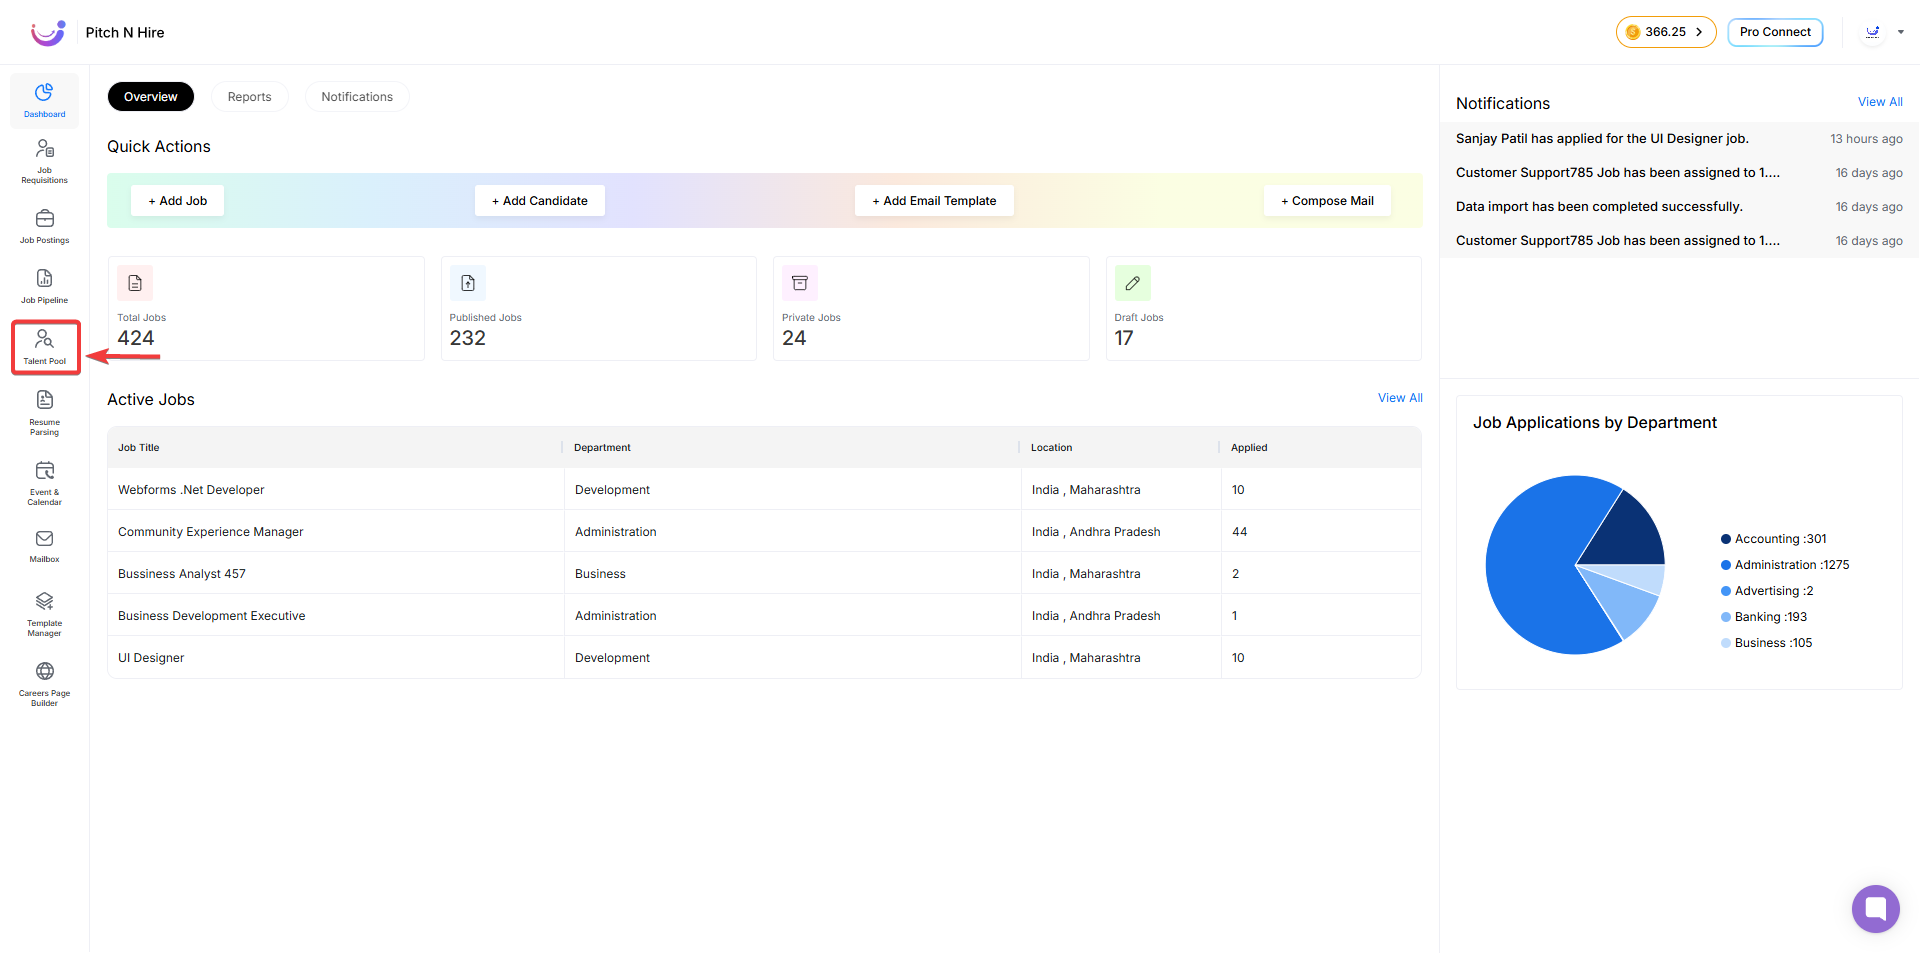
- Navigate to Talent Pool from the left sidebar.
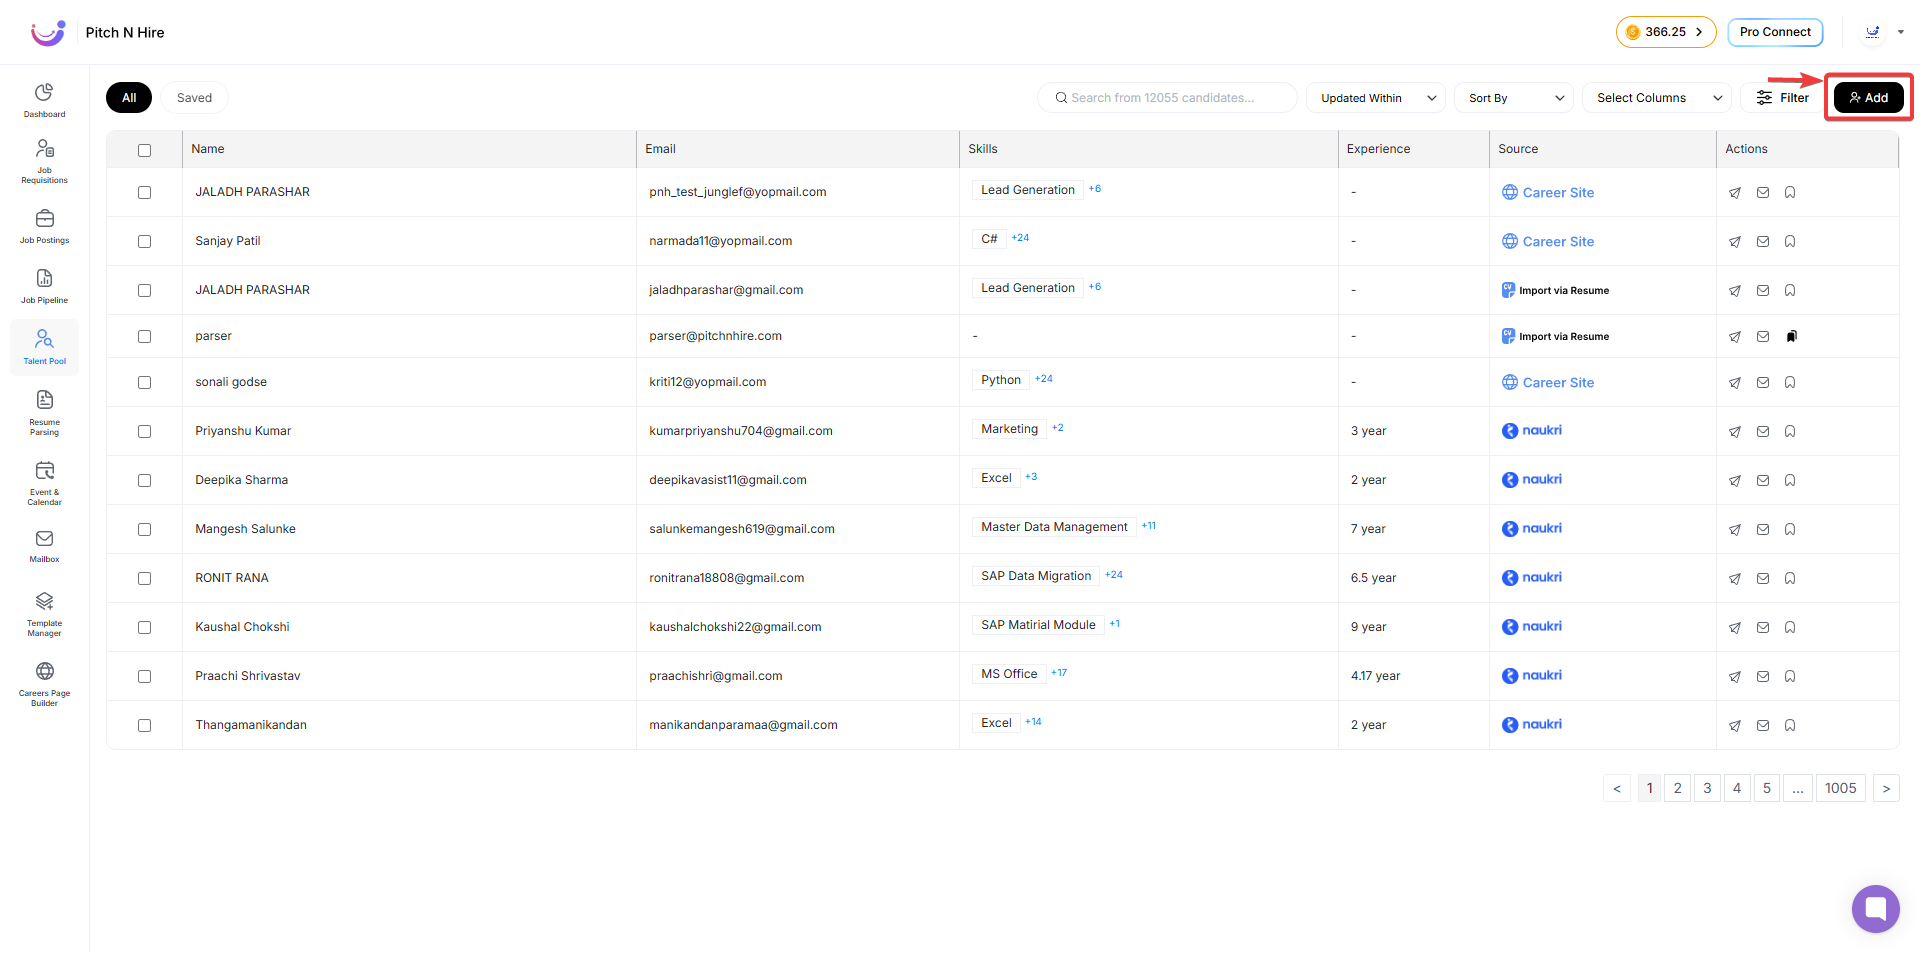
- Click Add (top-right).
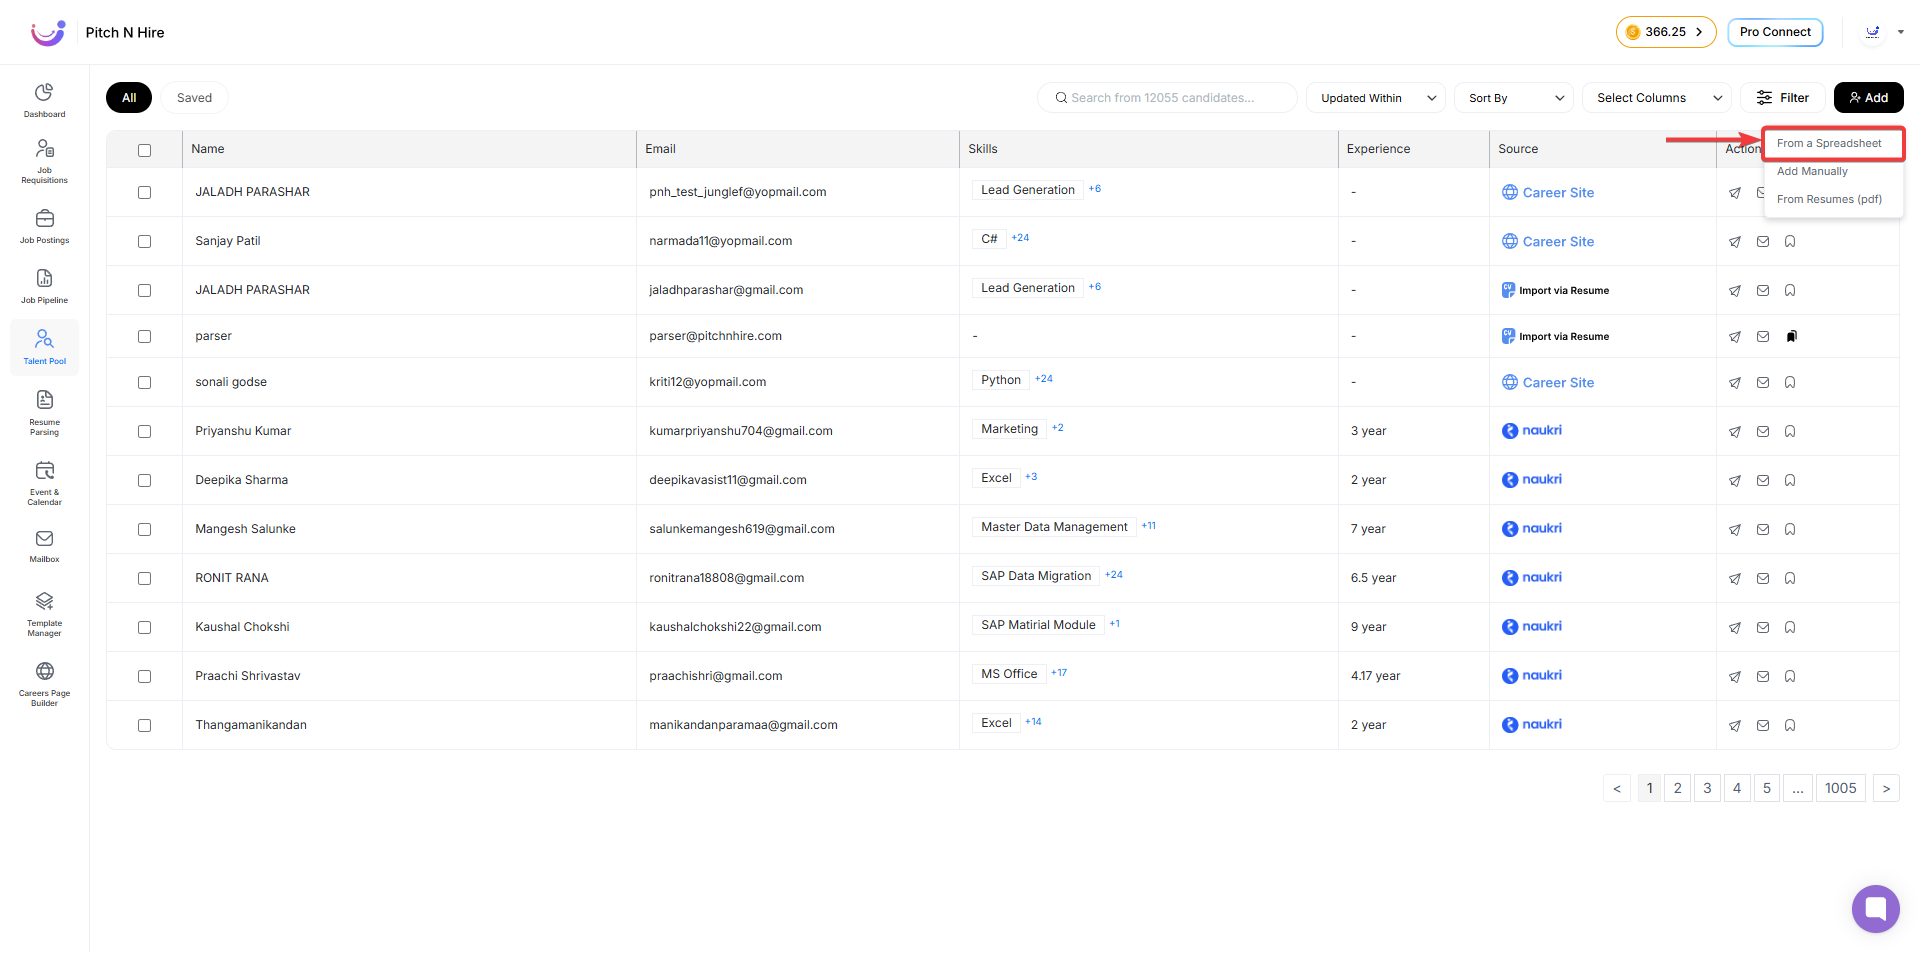
- Select Import from Spreadsheet.
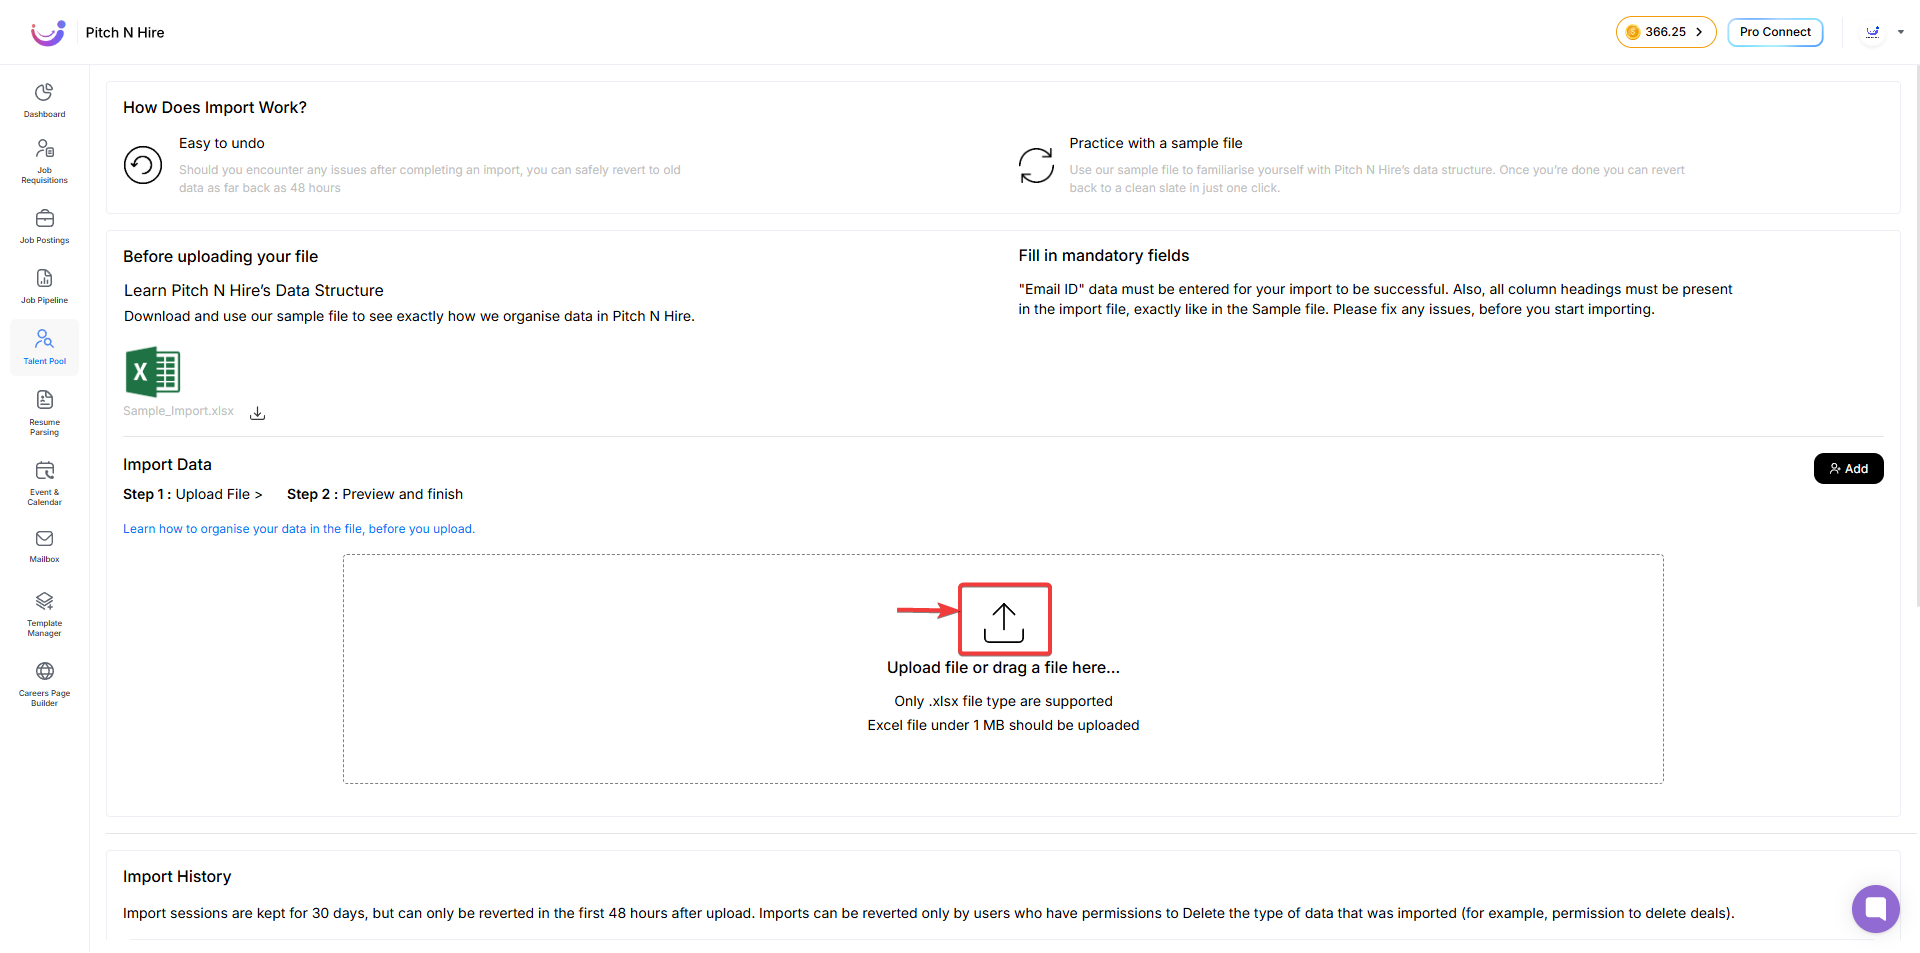
- Download the Sample Import File (Sample_Import.xlsx) provided within the system.
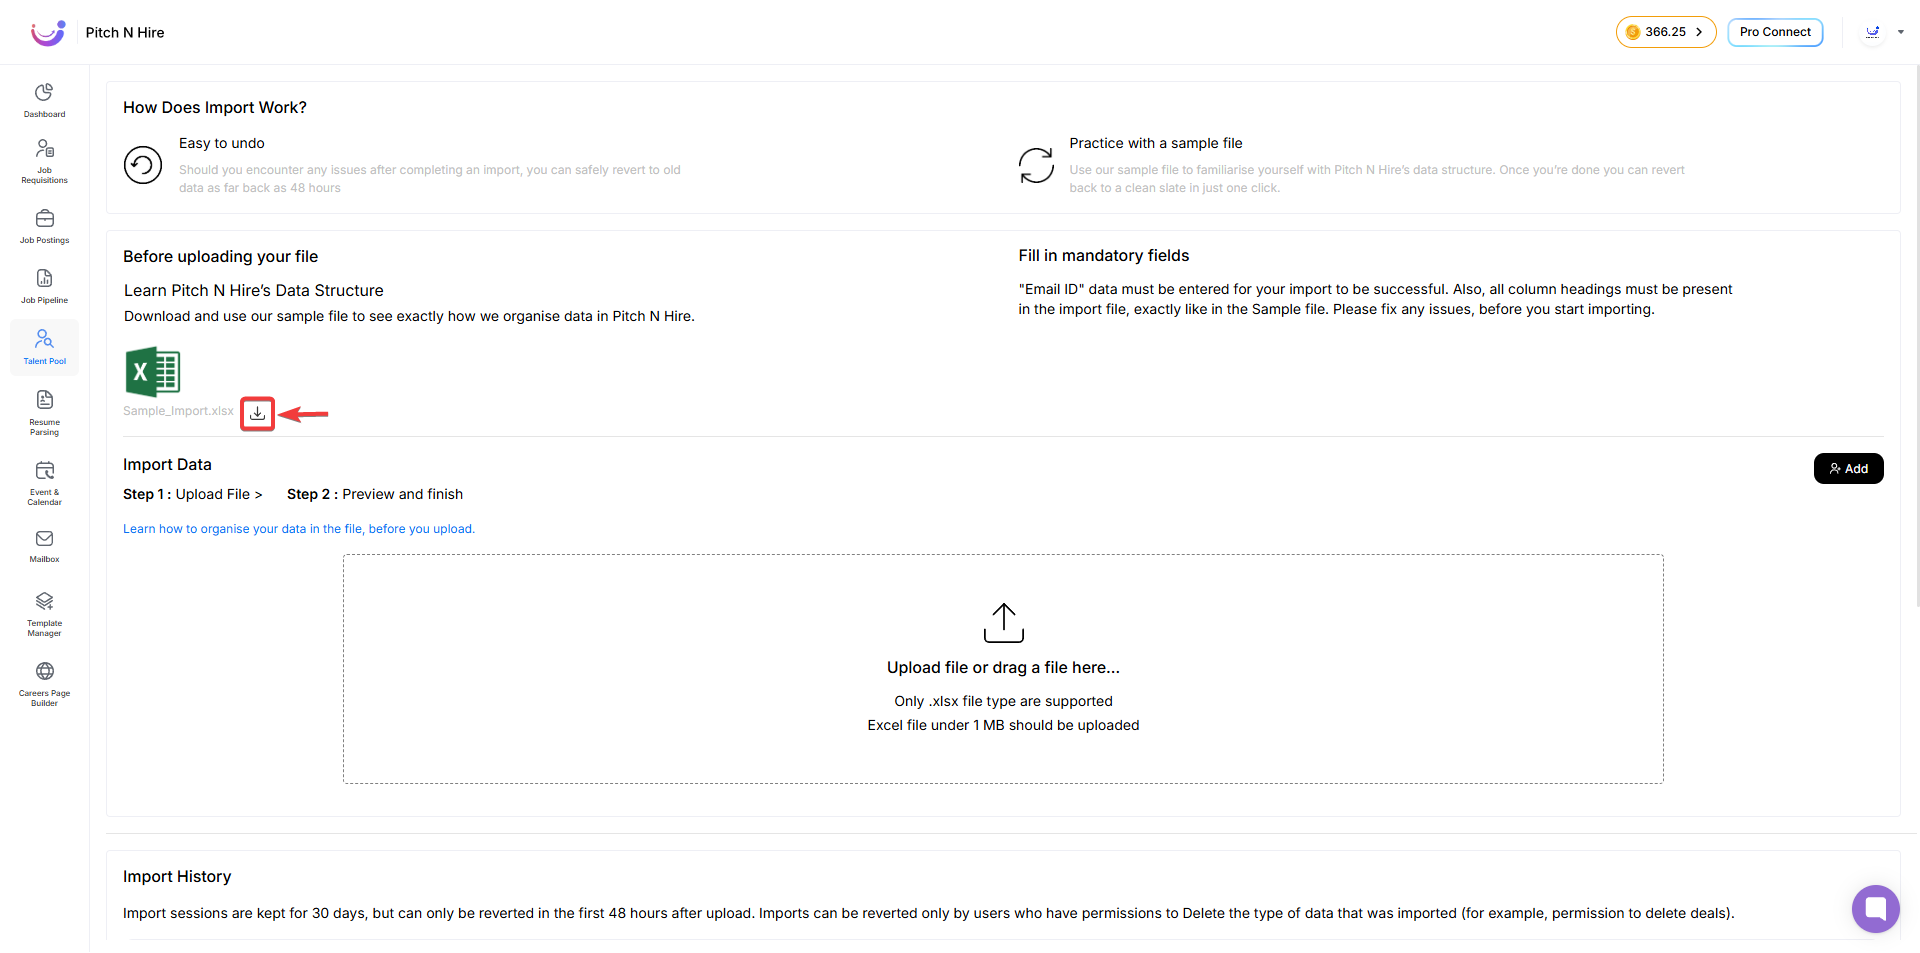
This file includes the correct headers, structure, and format required by Pitch N Hire.
Step 2: Prepare Your Data
File Type
- Only .xlsx (Excel) format is supported.
- Other formats like .csv, .xls, or .ods will not be accepted.
File Size
- The file should not exceed 1 MB.
- If your candidate list is larger, split it into multiple files and upload separately.
Maximum Records
- You can import up to 1,000 candidates per file.
Mandatory Fields
- Email ID is mandatory for every candidate.
- If missing, that candidate will be skipped.
Duplicate Handling
- Duplicate emails already in Talent Pool will not be re-imported.
Data Formatting
- Enter details in the same format shown in the sample file.
Step 3: Upload Your File
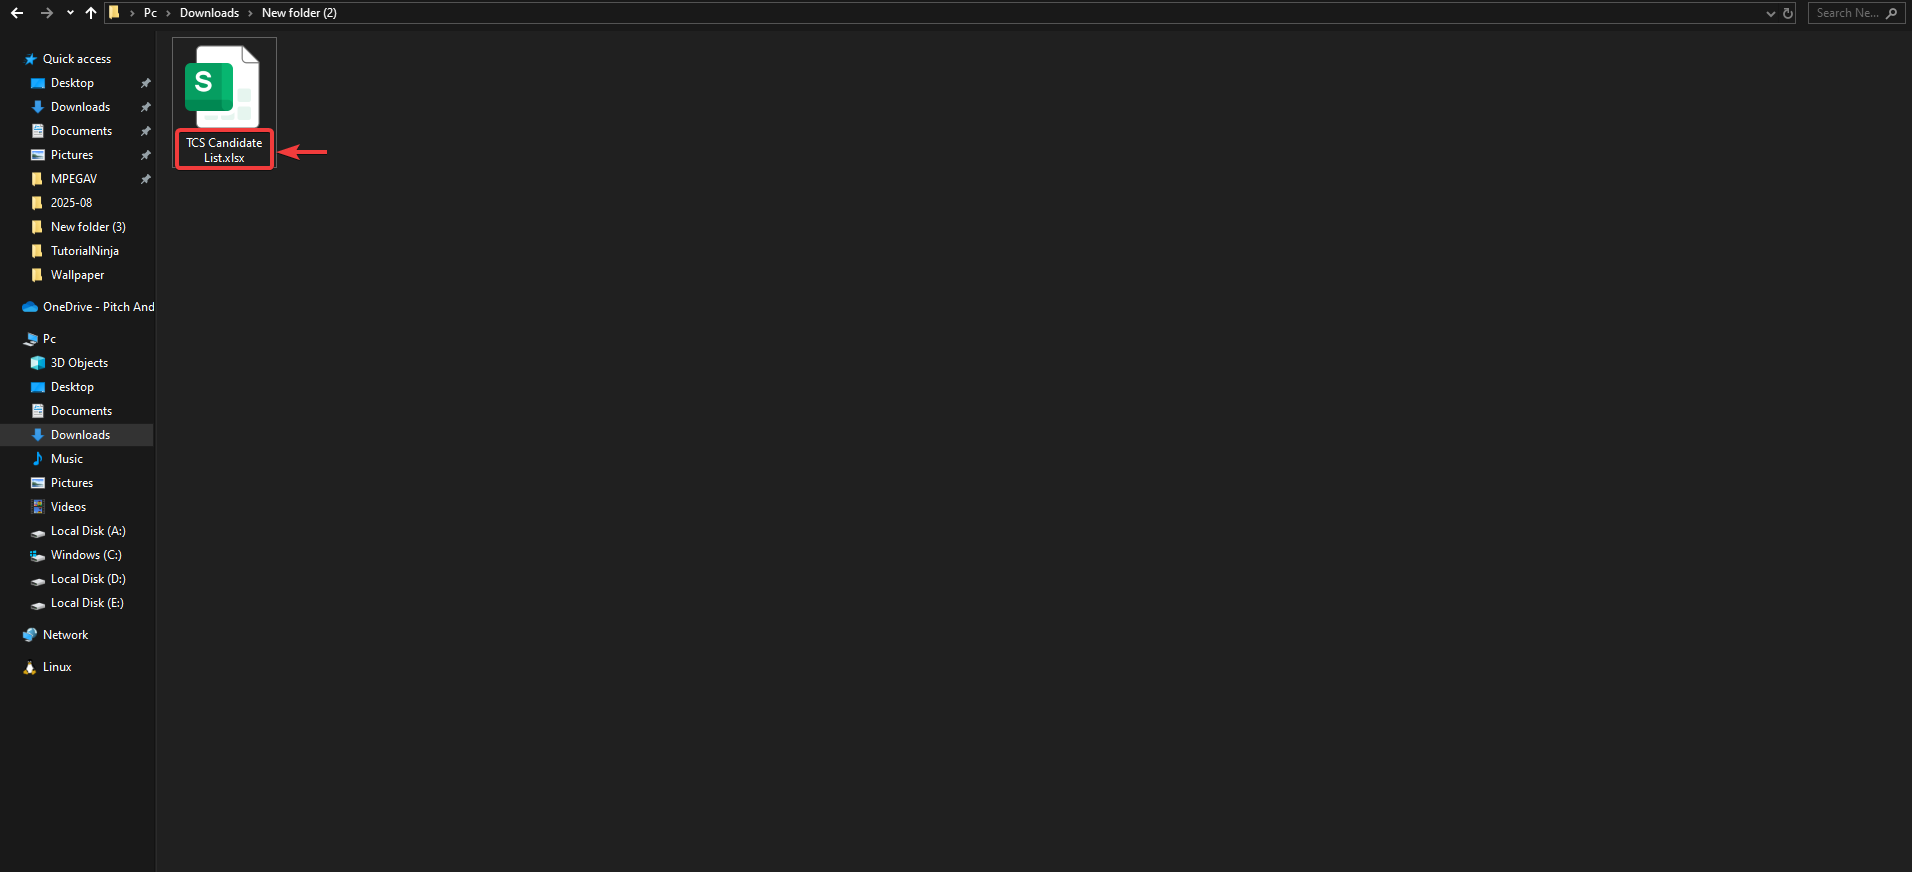
- After loading data into the sample file, rename it with a unique name.
- Click the Upload box and select your Excel file, or drag & drop it.
Step 4: Preview & Validation
- Once validated, a Preview screen appears.
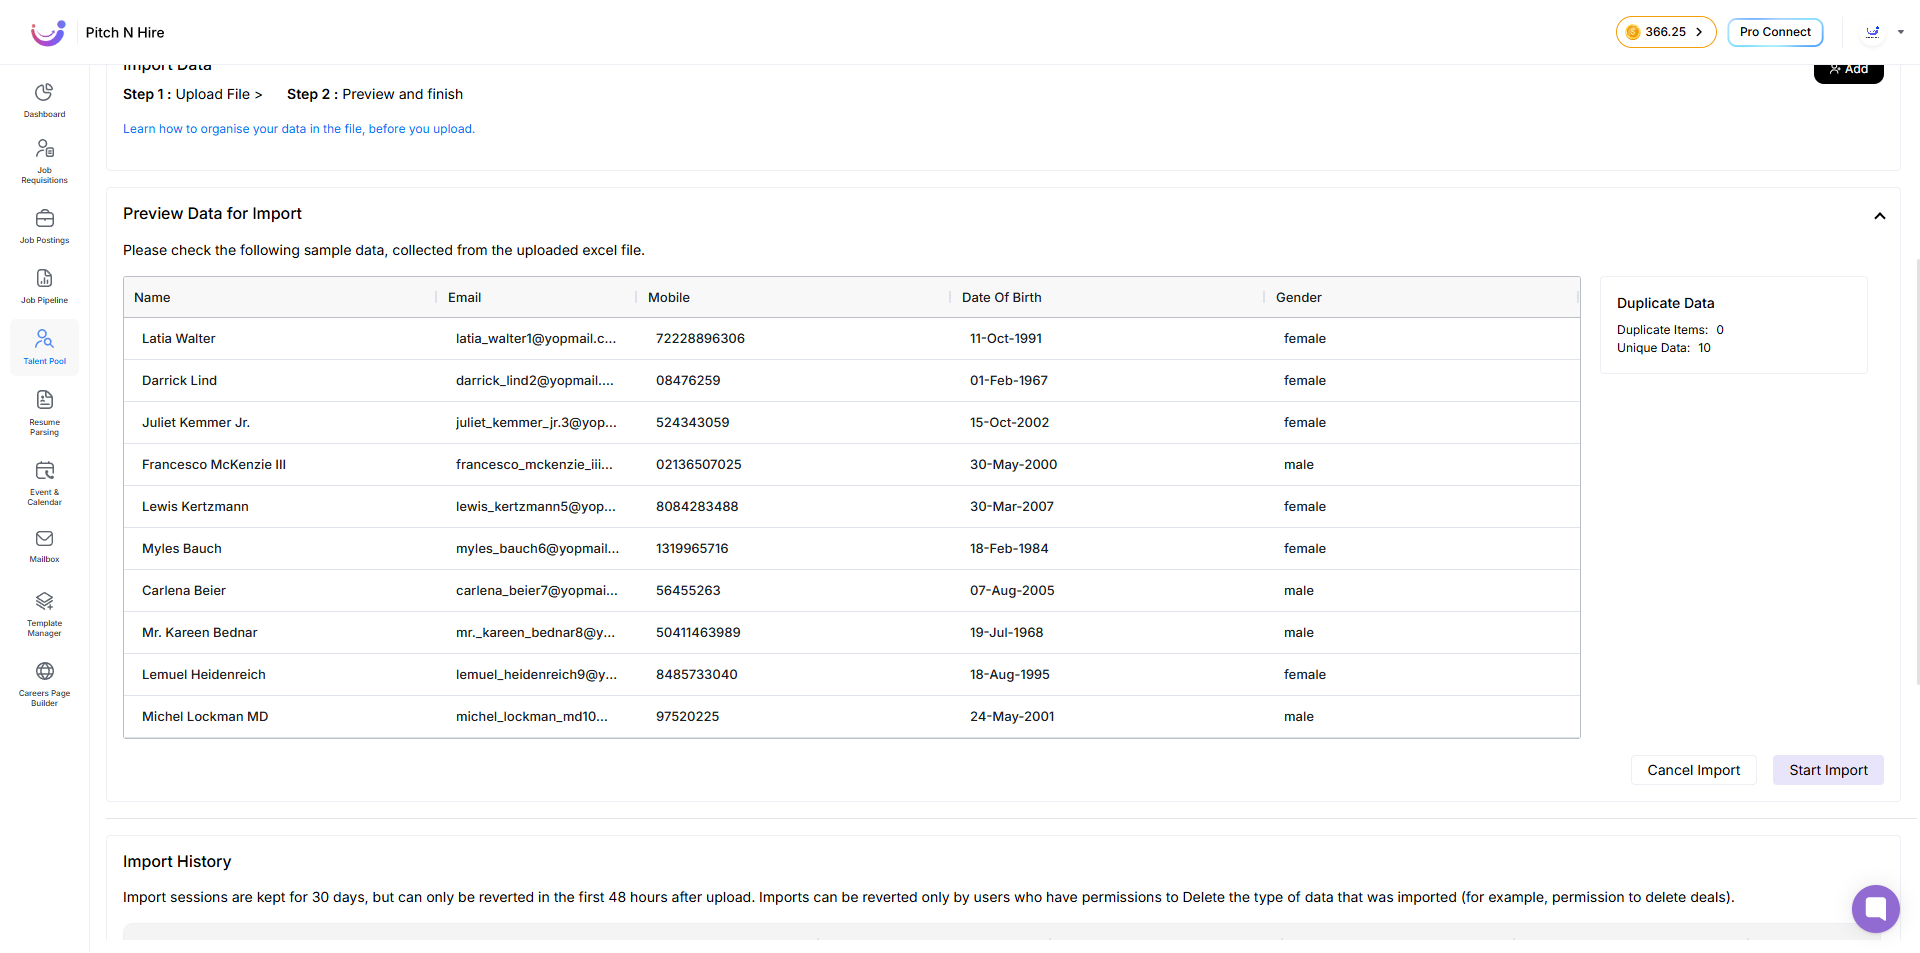
- Shows duplicate vs unique data.
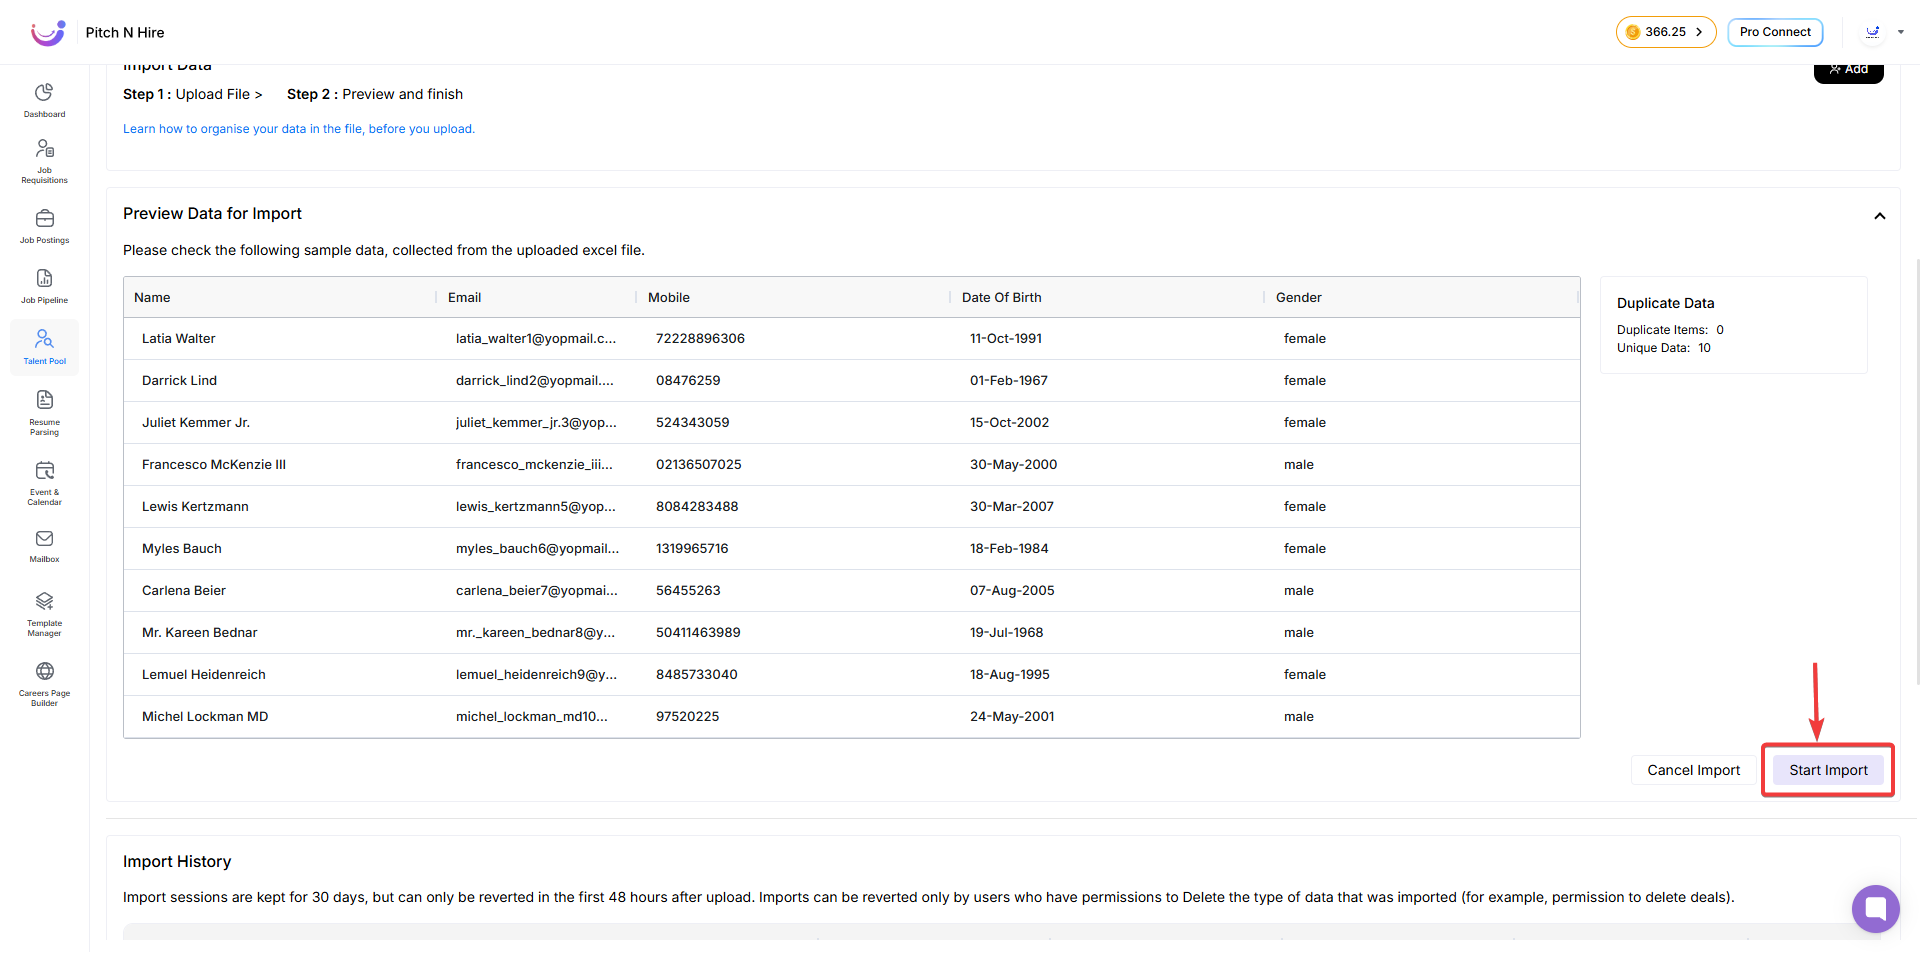
- Click Start Import.
Step 5: Assign Job
Continue Without Assigning
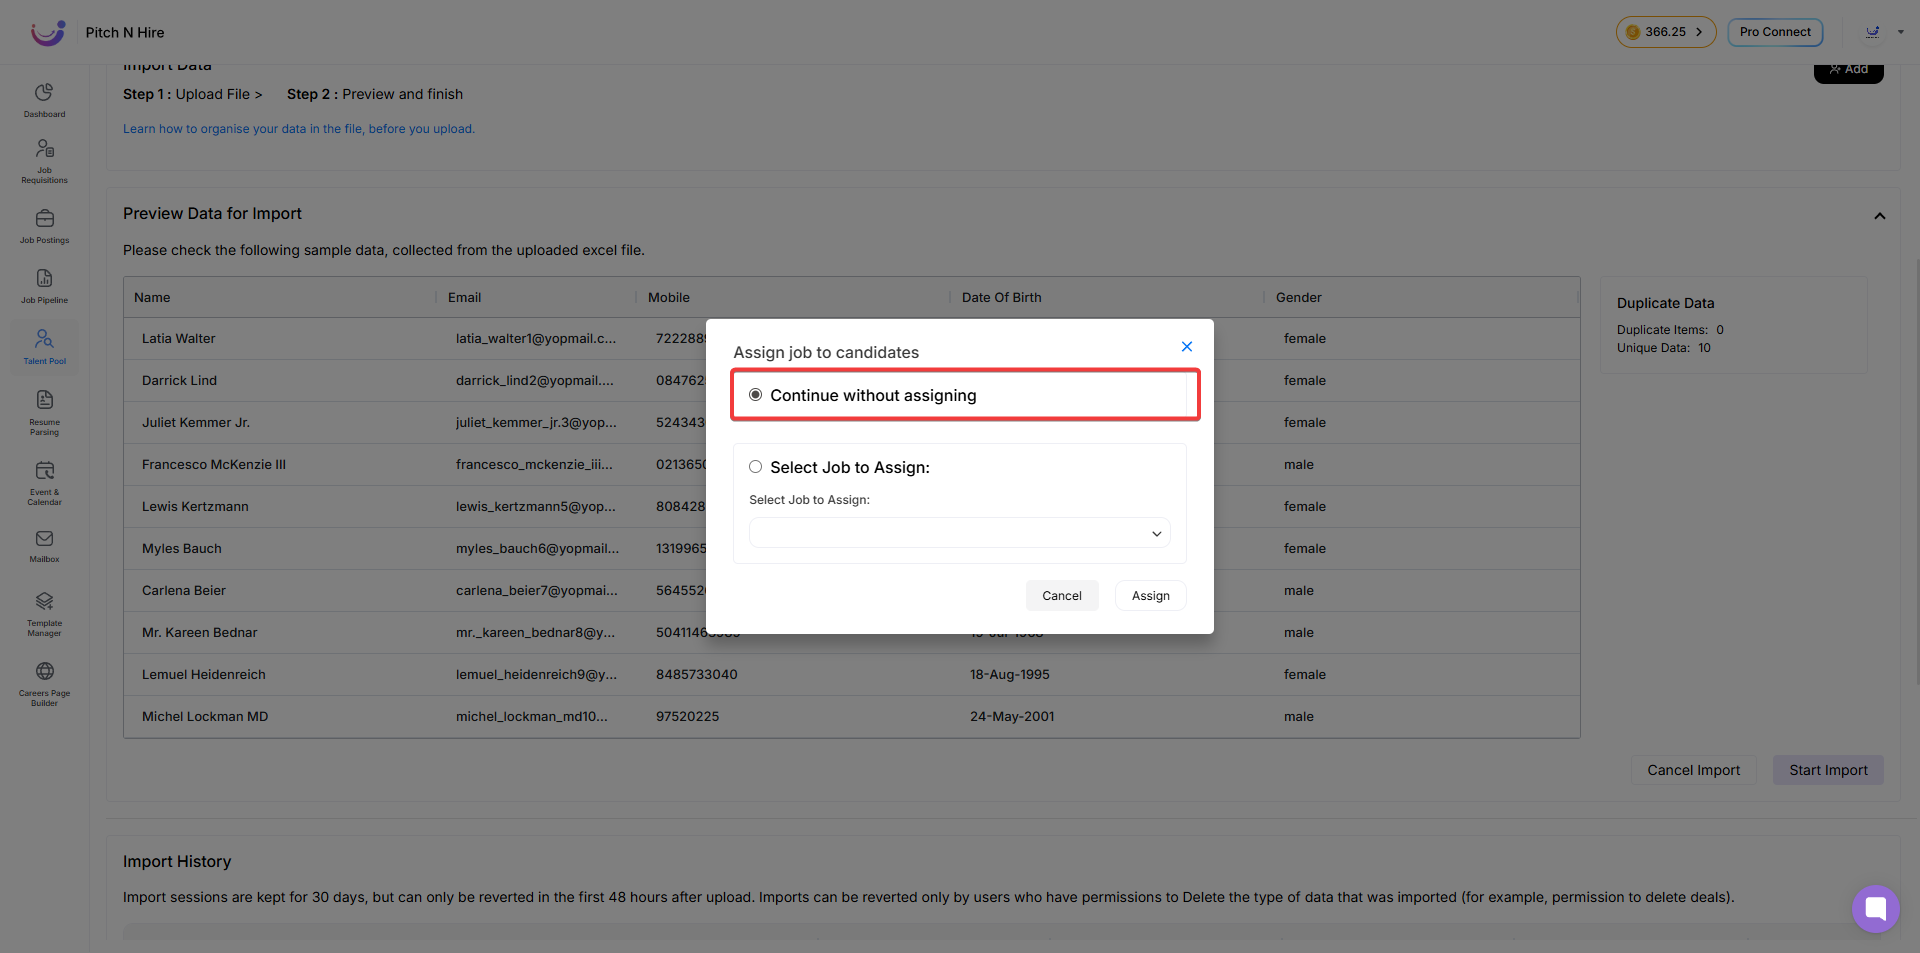
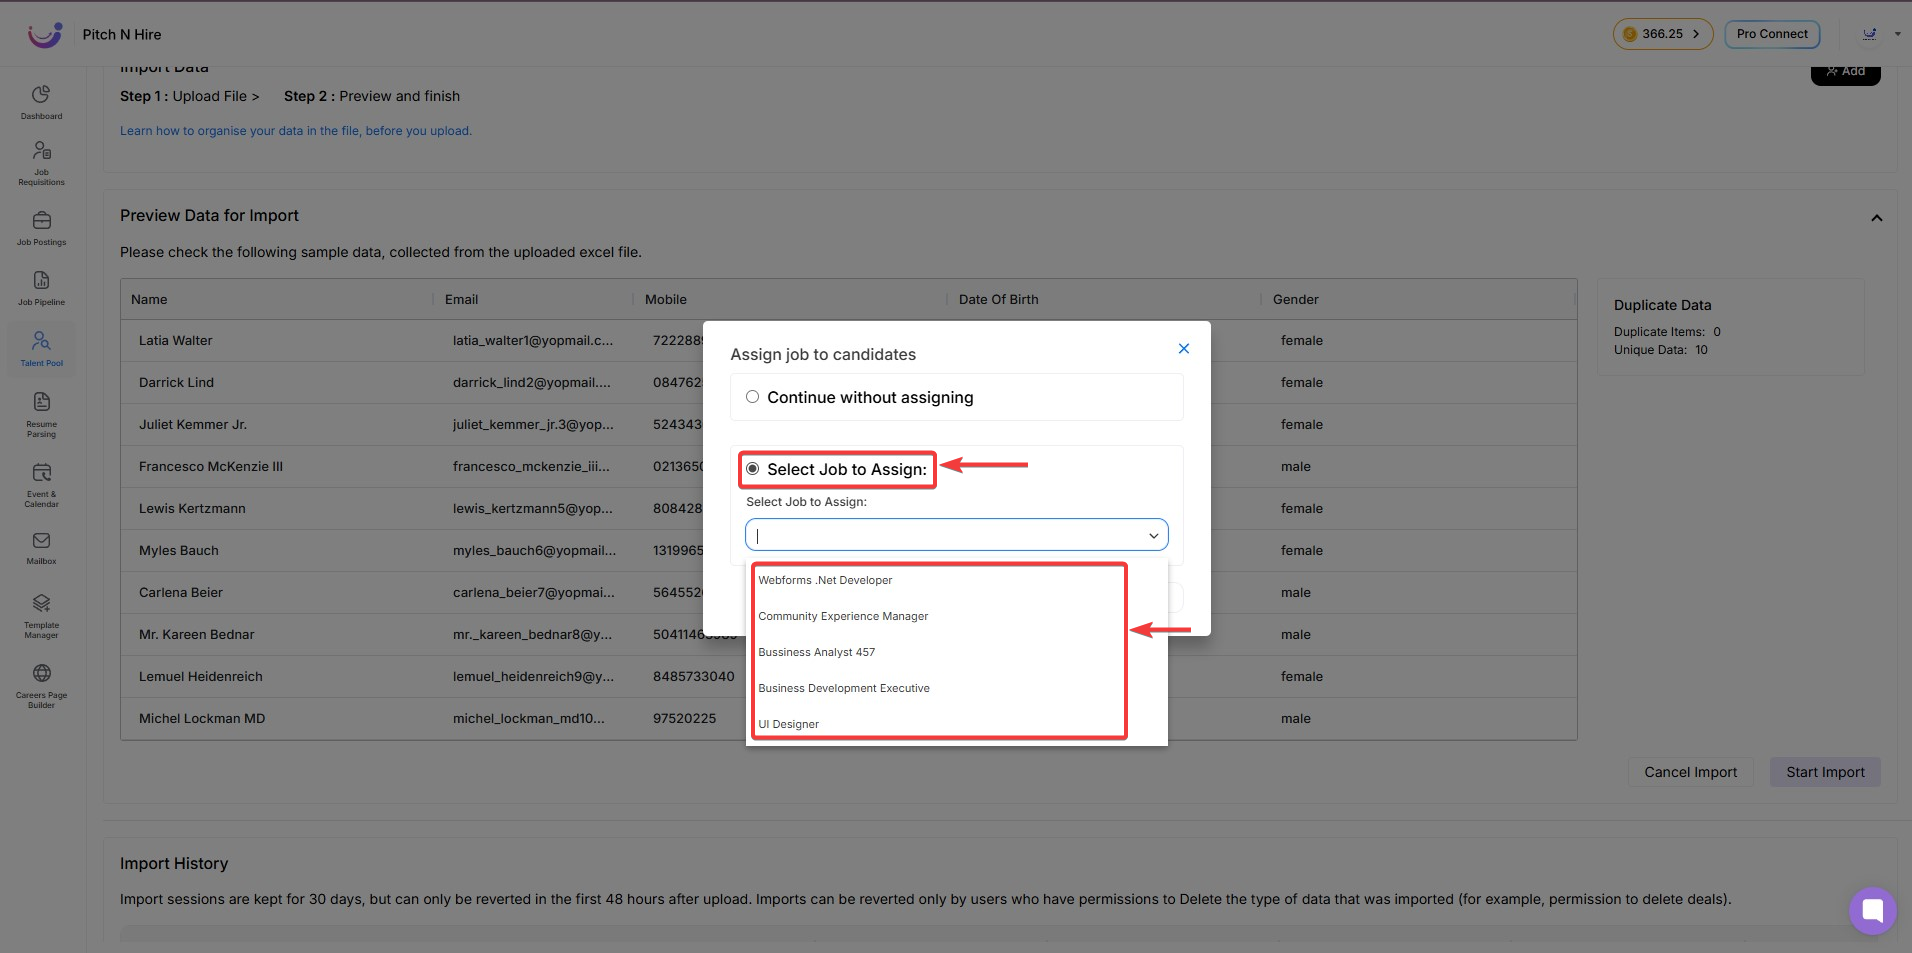
Select Job to Assign
Step 6: Complete the Import
- Choose assignment option.
- Click Assign Button.
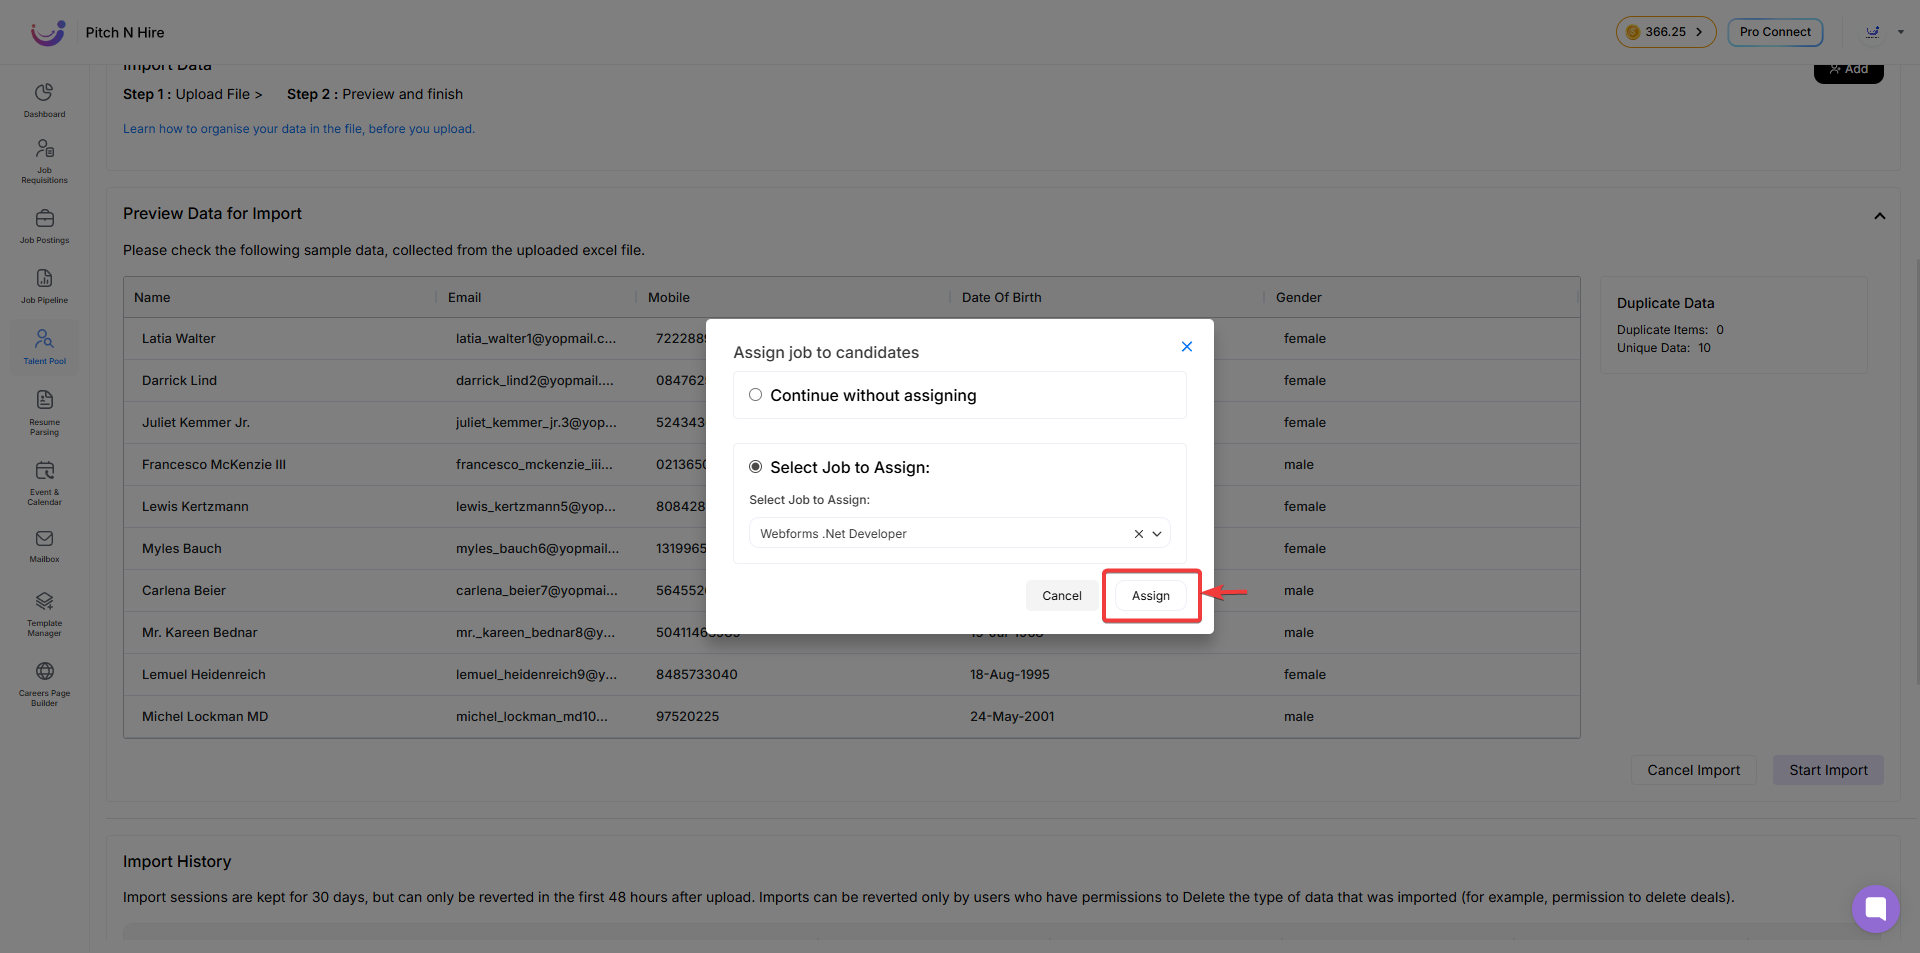
- System adds all valid candidates.

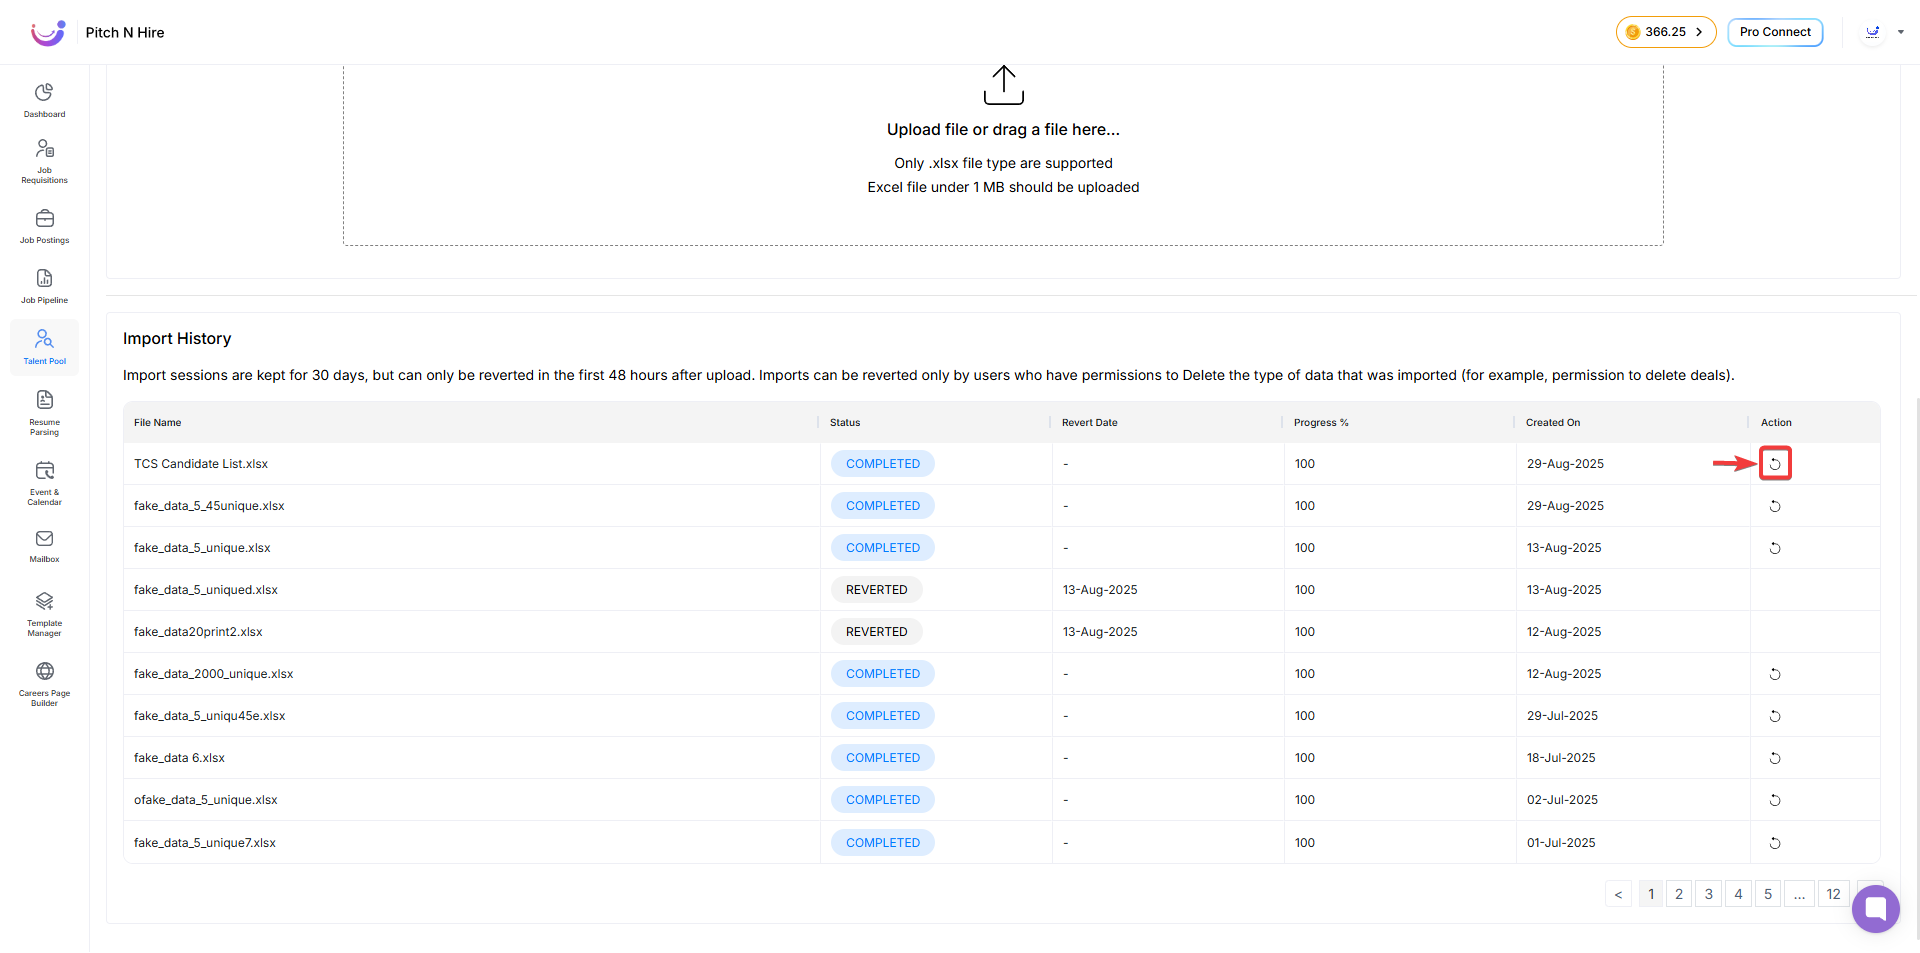
Step 7: Import History & Revert
- Log of all imports maintained.
- Available for 30 days.
- Can revert within 48 hours.
Best Practices for Importing
- Always download the latest sample file.
- Keep files clean and structured.
- Use unique file names.
- Validate email addresses before upload.
- Split imports into batches of 1,000 candidates.
- Assign jobs during import if targeting a campaign.
- Review preview carefully.
- Use revert option within 48 hours if needed.