Careers Page
The Careers Page builder lets you create a fully branded, hosted careers site for your company without writing code. From a single workspace you set your company story, upload media, tune your brand colours, showcase your team and benefits, and publish — your open jobs are then surfaced automatically on a public URL you can share with candidates.
Overview
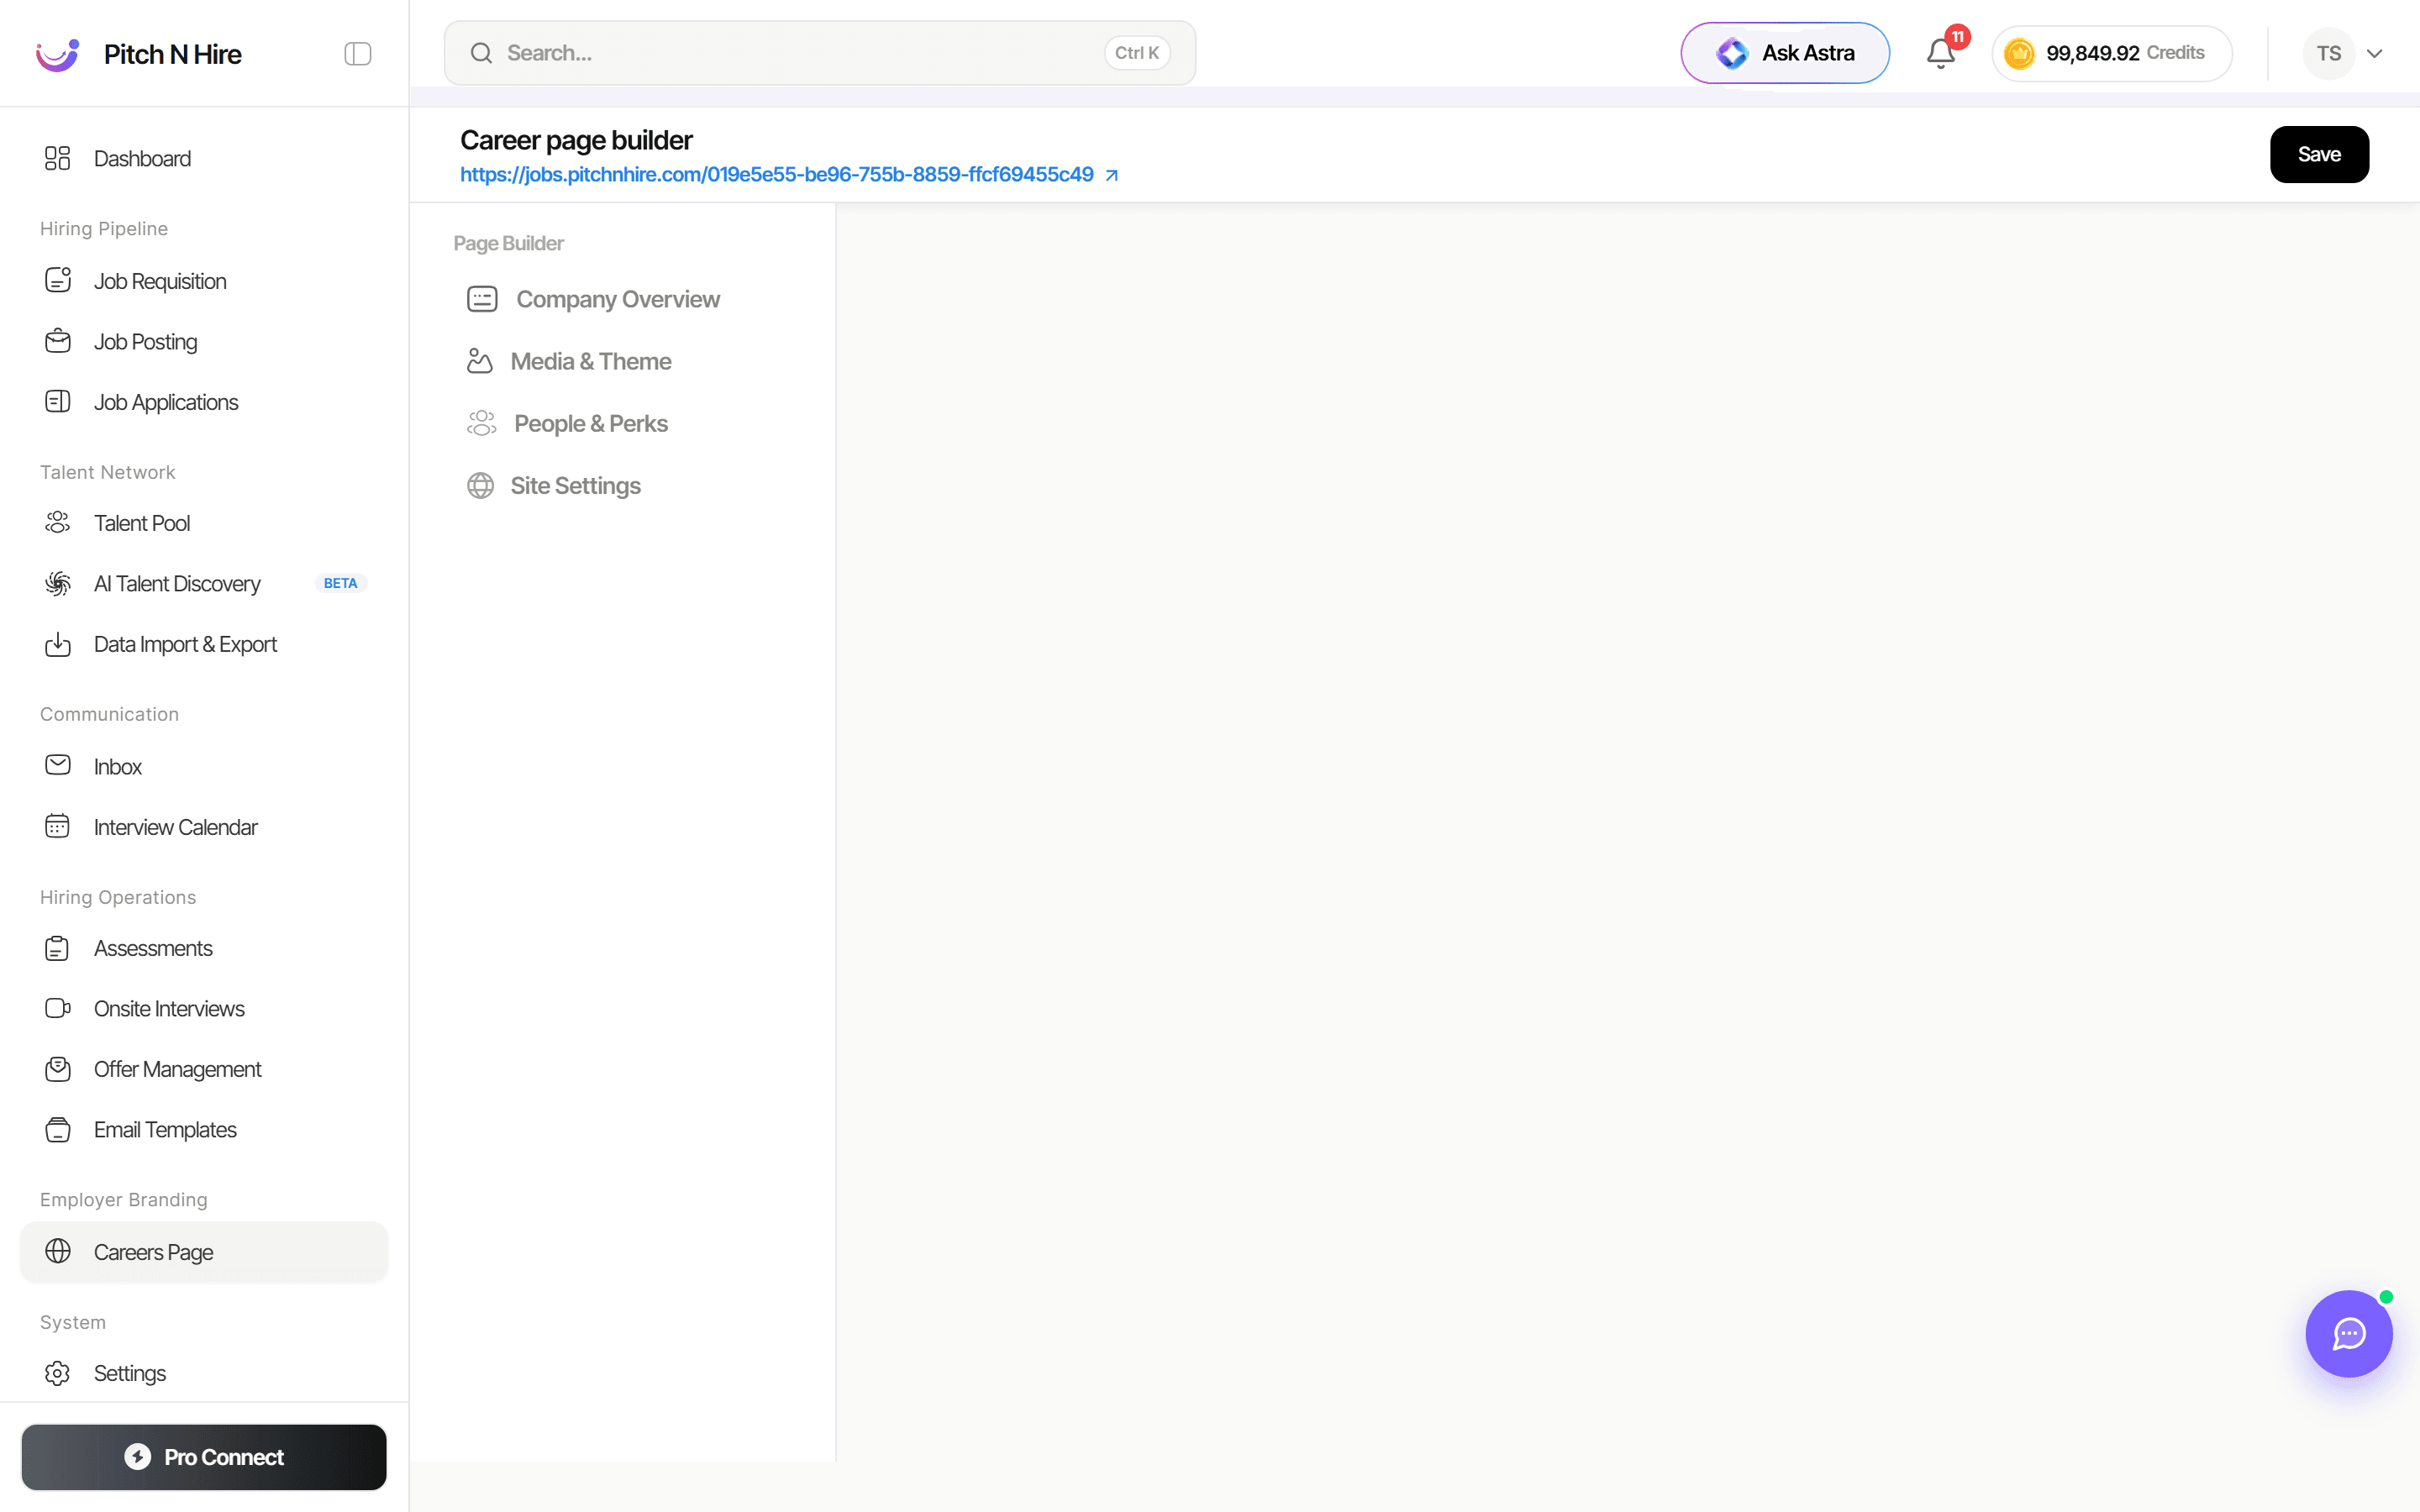
The builder opens with a header showing the title Career page builder, your live public site URL (in blue, with an open-in-new-tab arrow), and a Save button on the right. A left Page Builder panel lists the four sections — Company Overview, Media & Theme, People & Perks, and Site Settings — and the editing area fills the rest of the screen.
Key features
- One hosted careers site — your public URL is displayed in the header and opens in a new tab via the arrow icon.
- Four guided sections — Company Overview, Media & Theme, People & Perks, and Site Settings, switchable from the left panel.
- Rich-text company story — a formatting toolbar (headings, bold, italic, underline, lists, links) for your “About Your Company” content.
- Team and benefits showcase — add team members and perks cards that appear on the public page.
- Single Save action — the top-right Save button persists the changes in the section you are editing.
- Section tips — hovering a section in the left panel reveals a short tip explaining what it controls.
Step-by-step
1. Company Overview
Select Company Overview in the Page Builder panel. The page is titled About your company with the prompt to “Introduce your mission, culture, and what makes you different. Aim for 100–300 words.”
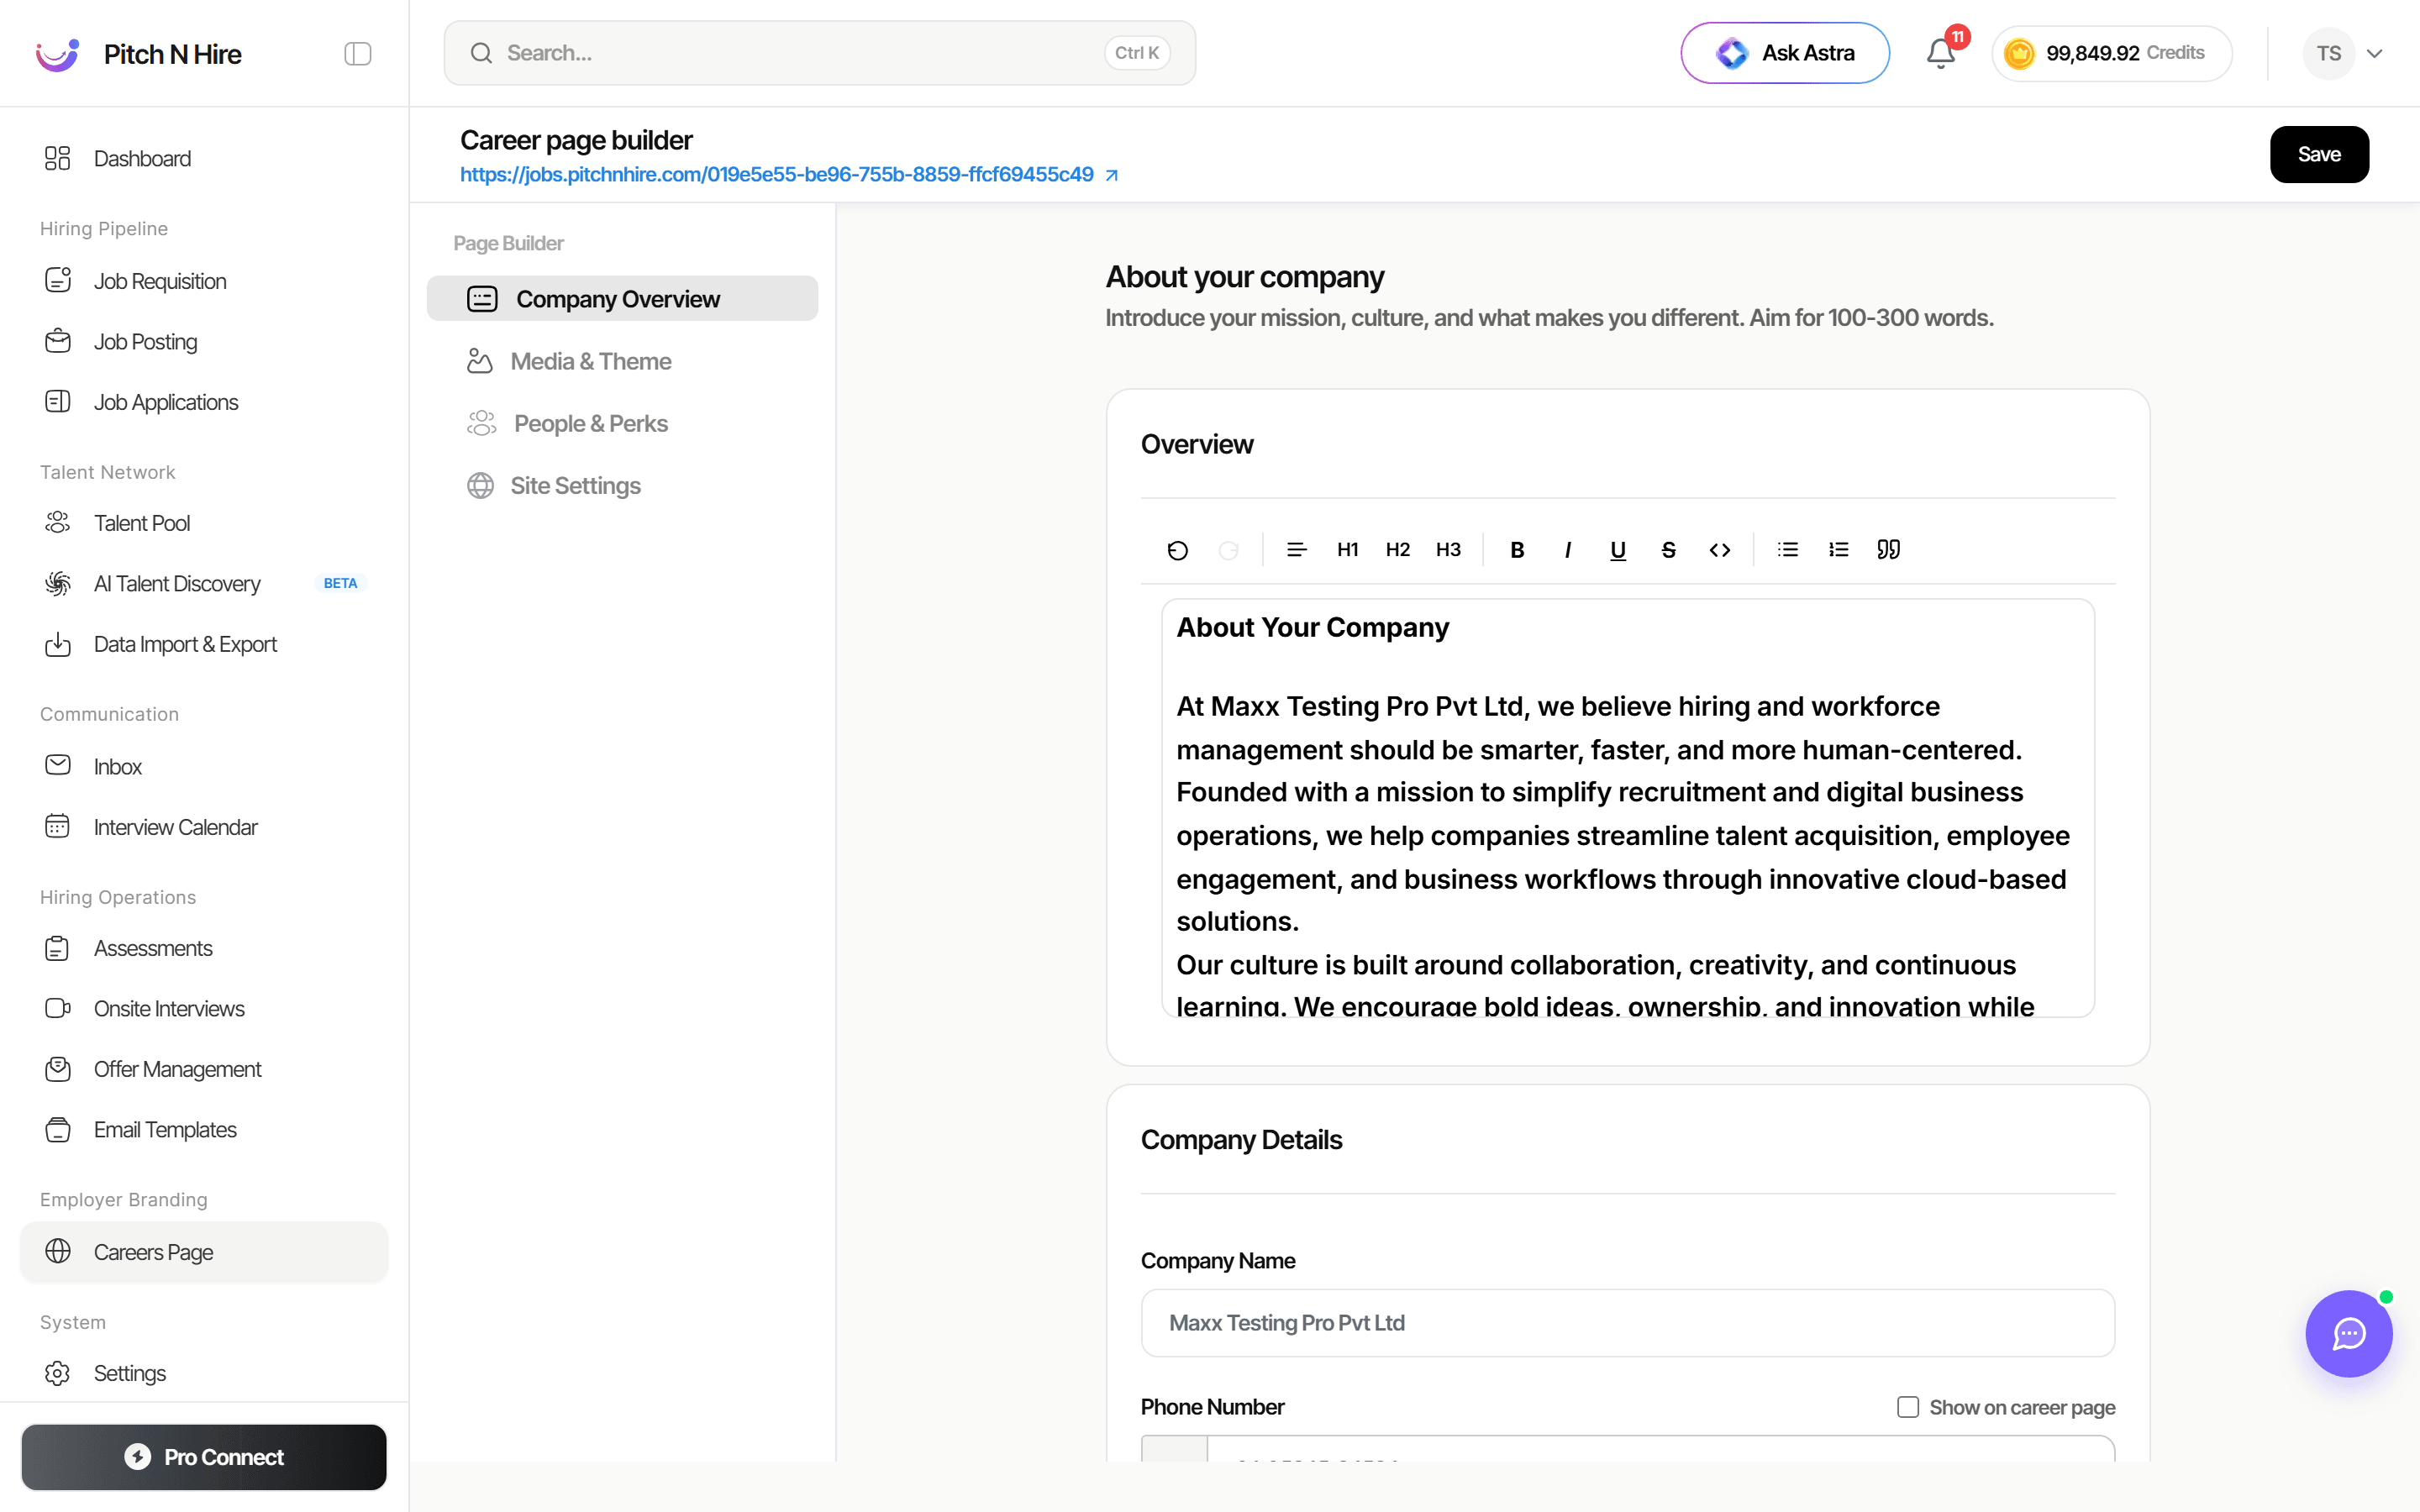
- Use the Overview rich-text editor (toolbar with H1–H3, bold, italic, underline, code, lists and links) to write your “About Your Company” story.
- Fill in Company Details below — Company Name, Phone Number, and other contact fields. Use the Show on career page checkbox beside the phone number to control whether it appears publicly.
2. Media & Theme
Select Media & Theme to upload photos and videos of your workplace and customise your brand colours so the public site matches your identity.
3. People & Perks
Select People & Perks. The page is titled People & perks with two tabs — People and Perks — and a + Add Member button on the right.
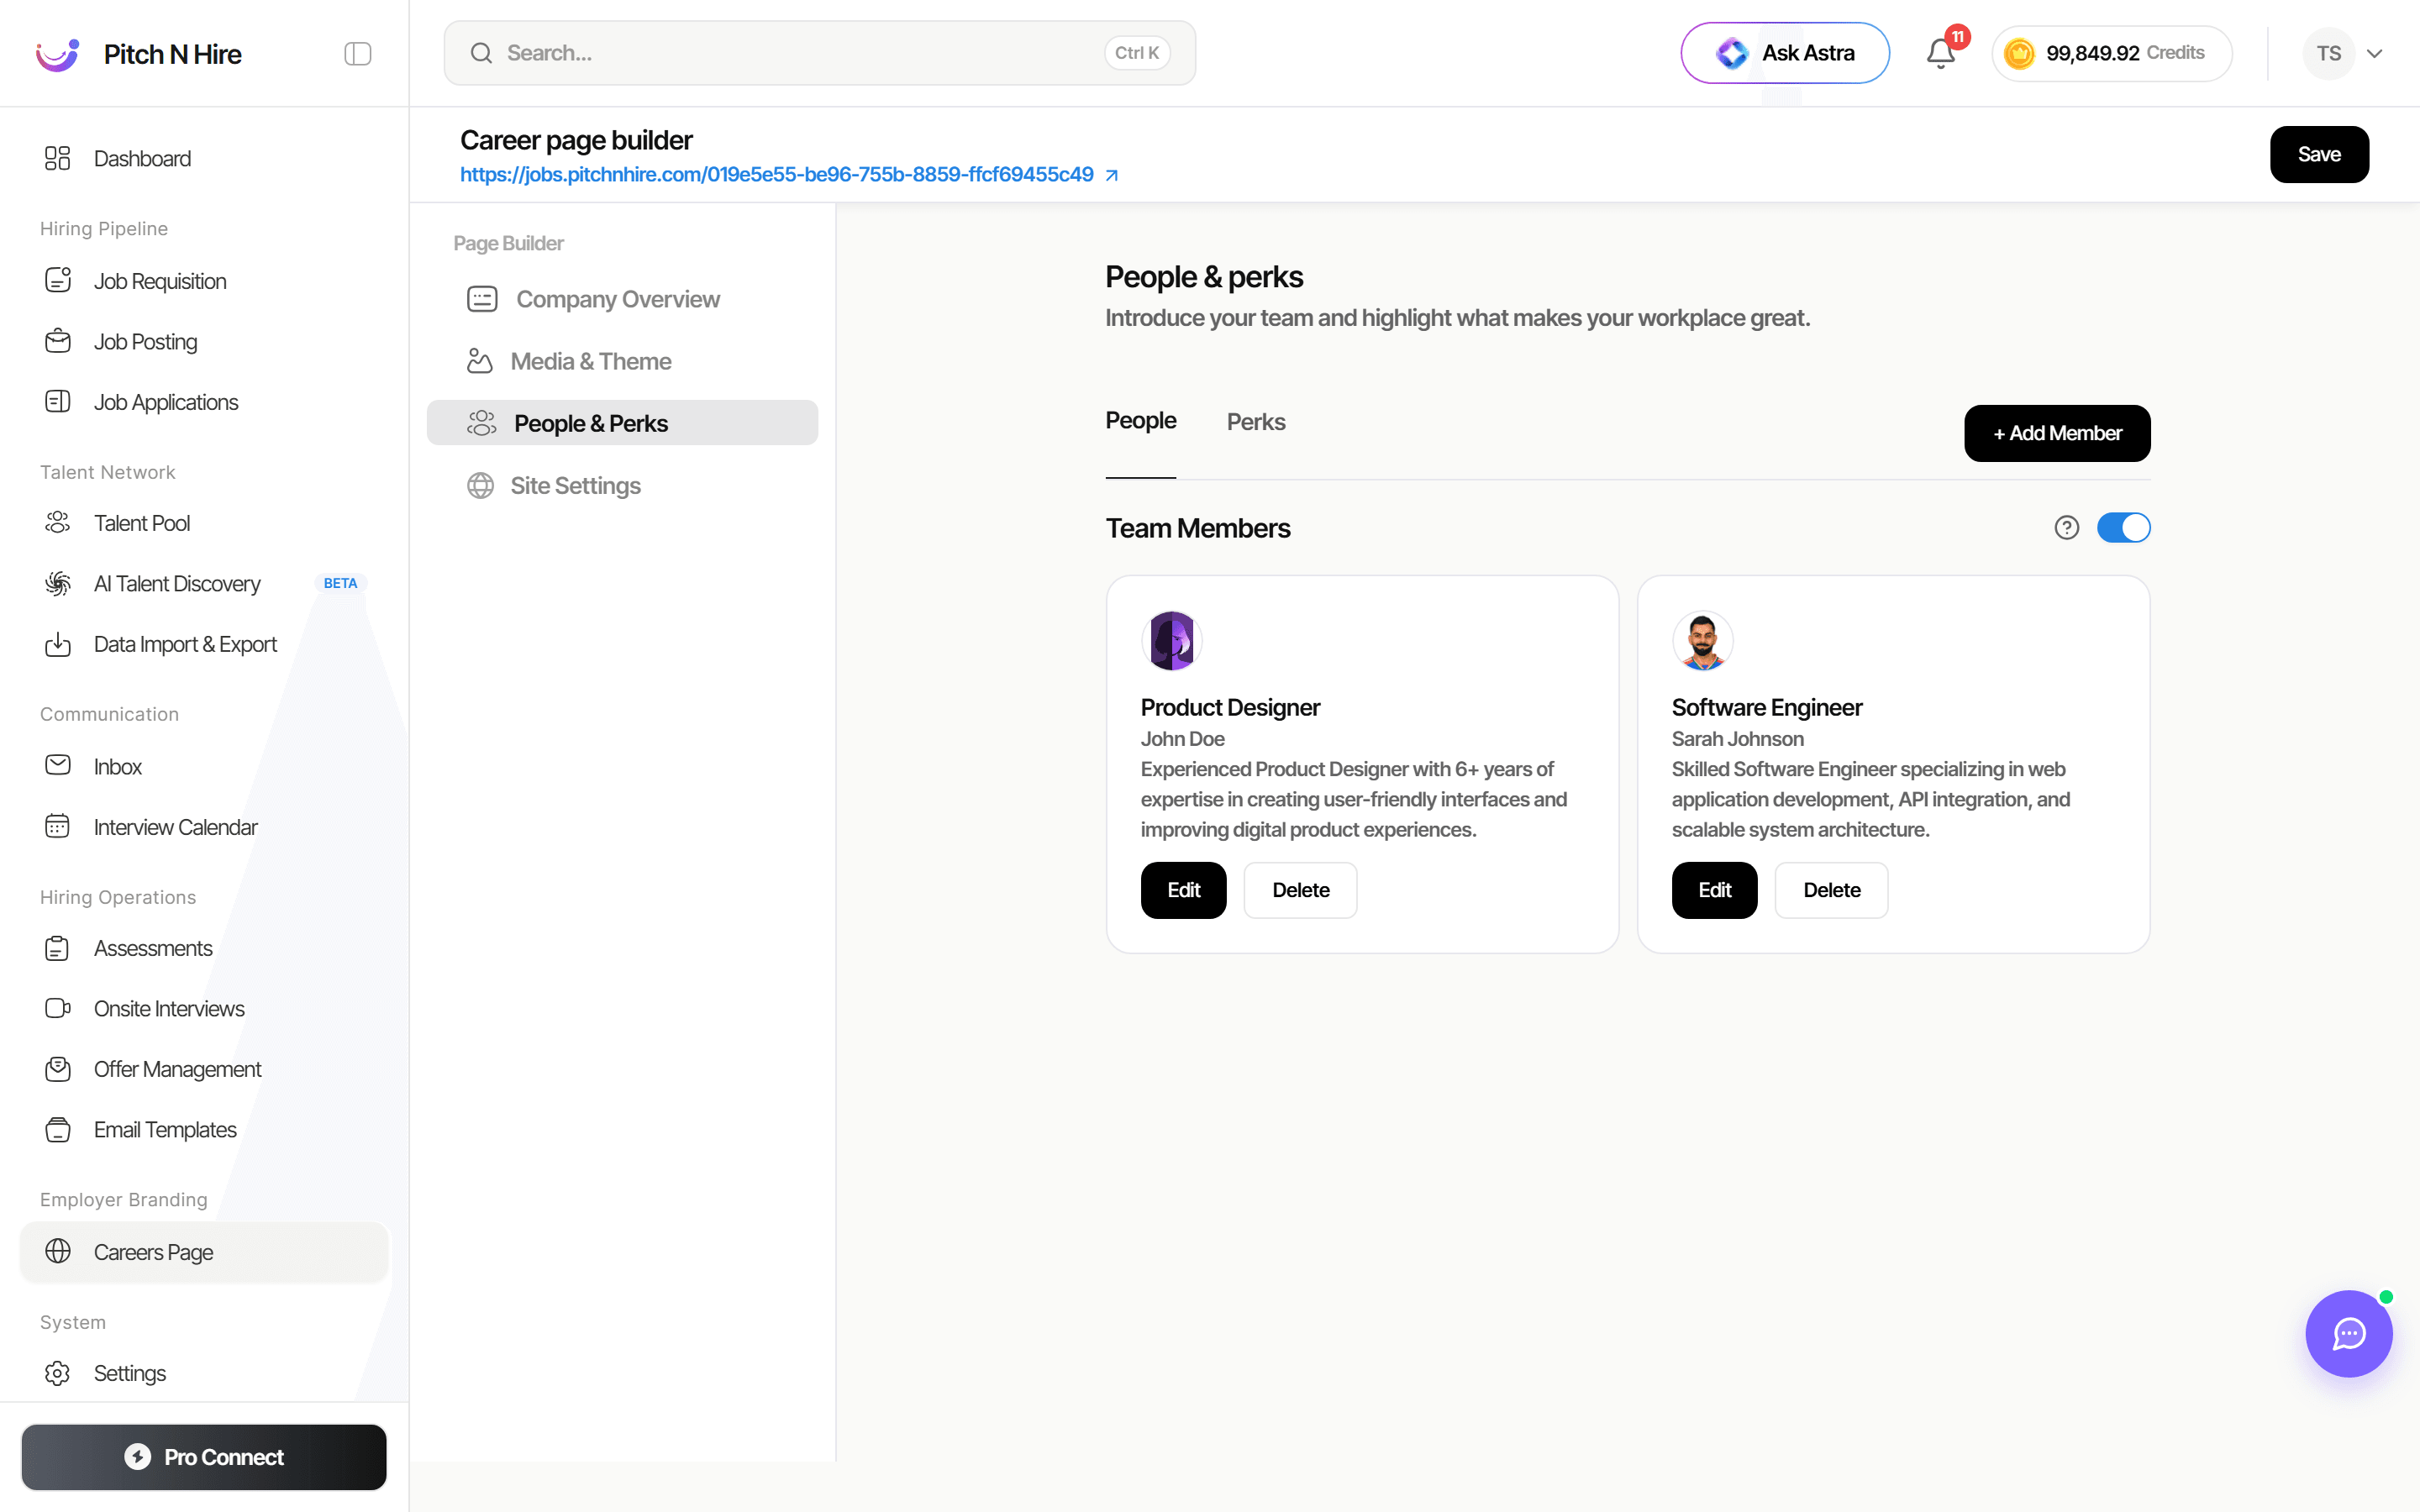
- On the People tab, the Team Members section shows each person as a card with their role, name and a short bio, plus Edit and Delete buttons.
- Click + Add Member to add a new team member card.
- Use the toggle at the top right of the section to show or hide the whole Team Members block on the public page.
- Switch to the Perks tab to add employee benefits cards the same way.
4. Site Settings
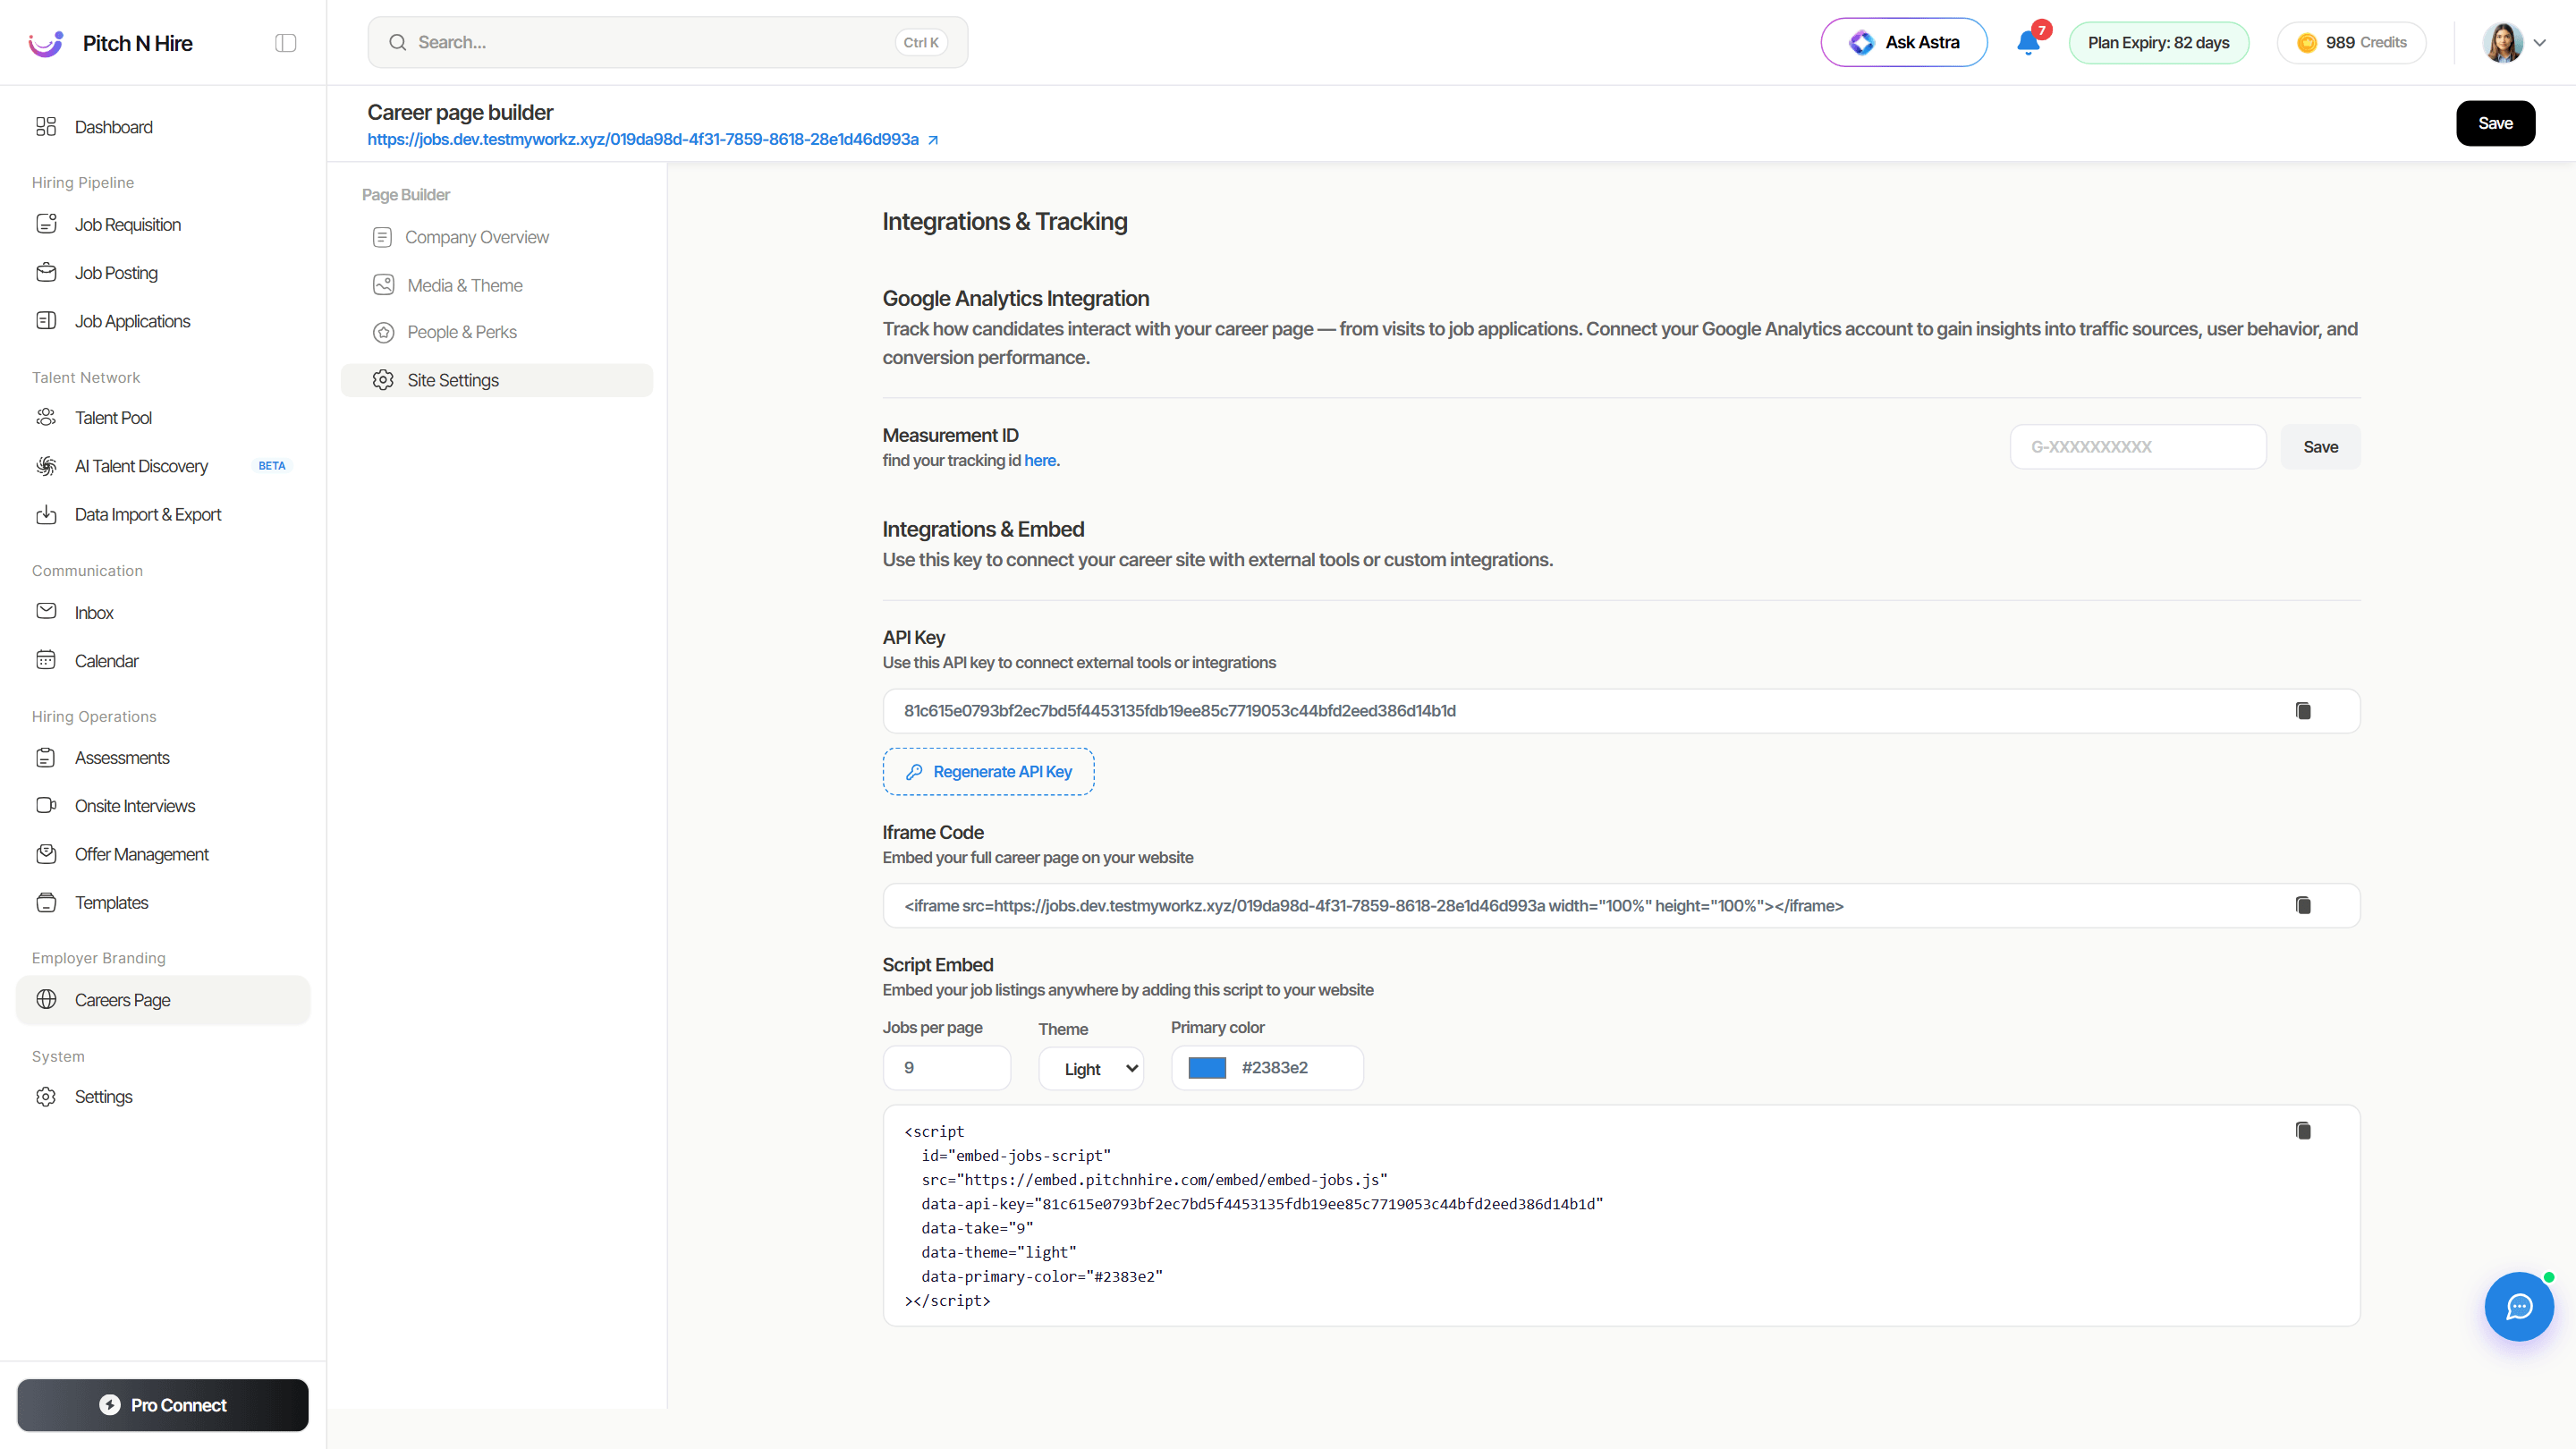
Select Site Settings to connect analytics and embed your careers content elsewhere. The tab is grouped under Integrations & Tracking and has three parts:
Google Analytics Integration
Track how candidates interact with your career page — from visits through to job applications — to understand traffic sources, user behaviour and conversion performance.
- Paste your Google Analytics Measurement ID (format
G-XXXXXXXXXX) into the field and click Save. - The find your tracking id here link points you to where the ID lives in your Google Analytics account.
Integrations & Embed — API Key
Your career site has an API Key used to connect it with external tools or custom integrations.
- Click the copy icon to copy the key.
- Click Regenerate API Key if a key is exposed or you want to rotate it. Regenerating invalidates the old key, so update anywhere it’s used (including the embeds below).
Iframe Code
To embed your full career page on another website, copy the ready-made Iframe Code snippet (an <iframe> pointing at your hosted careers URL, sized to 100% width and height) and paste it into that site’s HTML.
Script Embed
To embed just your job listings anywhere, use the Script Embed. Configure the look first, then copy the generated <script> tag:
- Jobs per page — how many openings show per page (e.g.
9). - Theme — Light or dark, to match the host site.
- Primary color — the accent colour (e.g.
#2383e2), via the colour picker.
The snippet updates live with your choices (it carries your API key plus data-take, data-theme and data-primary-color attributes), so paste it once and your listings stay in sync.
5. Save and preview
Click Save in the top-right header to persist your changes. Click the public URL (or its open-in-new-tab arrow) at the top of the builder to preview the live careers site.
Tips
Common issues & fixes
- Changes don’t appear on the live site — make sure you clicked Save after editing, then reopen the public URL (the cached page may need a refresh).
- A section is missing from the public page — confirm its toggle is enabled in People & Perks; disabled sections are hidden from candidates.
- Embedded jobs or analytics aren’t working — in Site Settings, re-copy the Script Embed / Iframe Code after any change, and if you clicked Regenerate API Key, update the key everywhere it’s used. For analytics, double-check the Measurement ID is saved.
- You can’t open the builder — the Careers Page requires the manage permission. Ask your admin to grant company-edit access under Settings → User Roles.